Most women out here – meaning those on ranches that I have met – have something to occupy their “off” time. Some are amazing cooks, making bagels and doughnuts – some are into horses, spending time on lead changes and drooling over Clinton Anderson! – some are very involved in church or scouts or 4H or CSO or kids’ sports or bicycling or crocheting or beadwork… the list goes on and on.
Maybe because I don’t do the same thing year round, I don’t qualify as well as my neighbors. Maybe I have adult ADD! As I admitted the other day… I spend the next 2 months doing this.
Pysanky.
Ukrainian egg decorating. Wax resist egg decorating. Like batik for eggs.
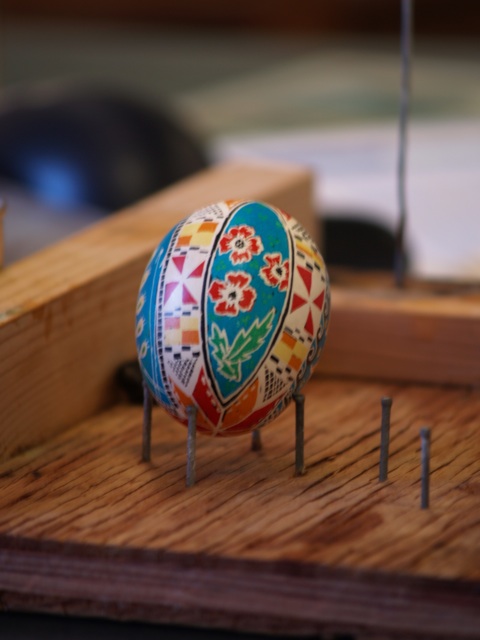
Here’s one I did last year.
Cool, huh?
Yes, it is just a chicken egg.
Makes you want to research pysanky on the internet now, huh? Admit it!
Well, when you do, you’ll find many more talented artists than little ol’ me out here in Wyoming. People with family histories of making these. People that do this on goose eggs that are unbelievable.
But we’re gonna do what we can… you need to learn the basics… and I can teach you that much!
Supplies: To make it easy on you…just go to www.ukrainiangiftshop.com It’ll save you lots of trouble searching for supplies. This is a small family operation with great service and good products. It is where I’ve purchased my supplies after my first “kit” I bought ran out. For $15 or $20 you can be in business… it is a very inexpensive hobby!
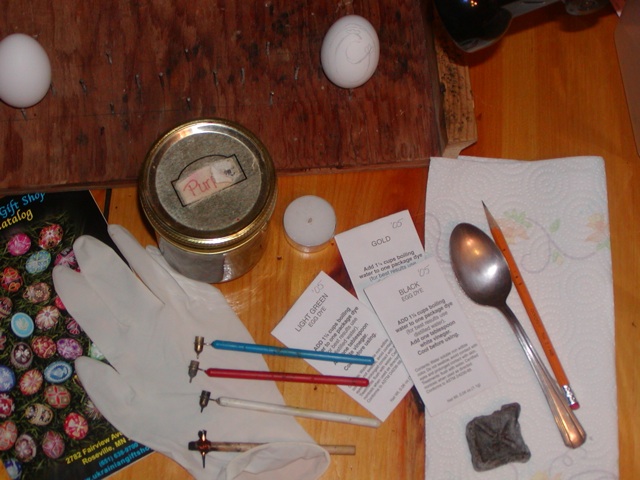
Here’s the basic supplies.
Ideas and instructions – very helpful for the beginner.
Latex glove – not necessary, but any lotion or sweating on your egg will impair its ability to receive the dye.
Wide-mouth glass jar with lid – your liquid dyes will last a long time if you put them in here.
Candle – I use cheap tea light candles, they are stable!
Dyes – these are aniline dyes, not your regular Easter egg dyes. These CANNOT be inhaled, be careful. They are to be mixed with distilled water and vinegar… don’t try to use regular water… I’ve tried, it doesn’t work! Trust me!
Spoon – one you’ll never use for food again! To quickly immerse and hold down your egg in the dye! And lift it back out. A larger spoon is perfect.
Pencil – to help the design in your head transfer to your egg.
Papertowels – I use one for each color of dye… plus an egg on a paper towel is LESS LIKELY to roll off your table. But don’t trust it entirely or you’ll regret it.
Beeswax – I prefer the darkened beeswax, it shows up better on white eggs! I also use cheater glasses and a bright light, because, sigh, at my “age”, anything to help my vision is welcome!
Kistkas – That is the name for the red, white, blue, and wooden handled things in the center. These are the tools of the trade. They are how you put the wax on the egg.
Also shown is my awesome egg board a friend made me… it has helped me immensely over the years… but an egg carton will do the trick for you right now.
Next… go order your stuff! Buy a blue kistka, some beeswax, basic dyes… By the time it arrives you’ll be ready to use it. Don’t wait until it arrives – you have some planning to do first!
Next… comes the egg!
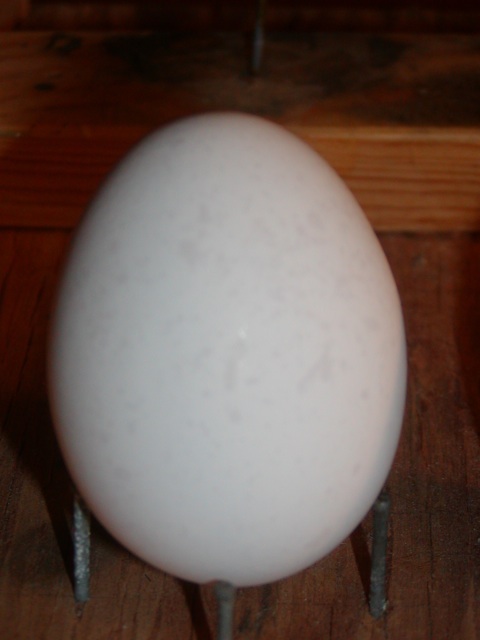
Go to your frig… pull out your eggs… and start looking. Oops! Go wash your hands first!! Don’t mess up your egg before you even start. Wash well, too, no slap and dash! Once you start looking, there is an amazing difference in eggs. Some are longer. Some have weird shapes. Some have little bumps of calcifications on them. Some of them have “clear” spots like this egg.
See, it’s not all white. Use those unacceptable eggs for breakfast. We want perfect eggs.
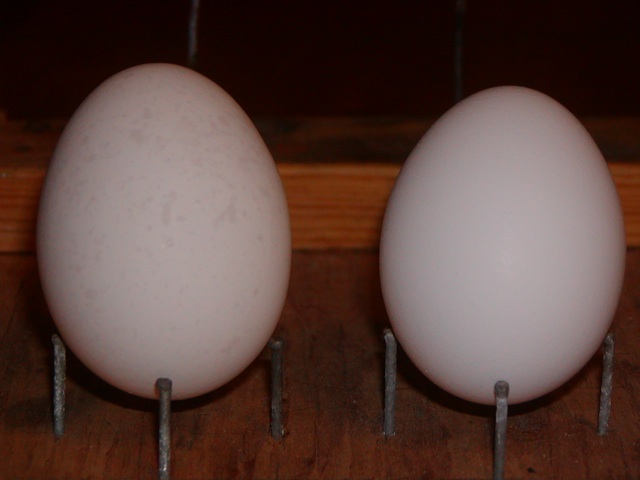
See the egg on the right? That’s the one we’re using, not Mr. Splotchey egg on the left! The splotches don’t accept the dye evenly and we’re going for gorgeous eggs here!
Now… your design.
That’s another thing about the Ukrainian Gift Shop catalog. It has examples and definitions of symbols used in pysanky. Early early egg decorating celebrated the seasons, especially spring and its rebirth. The people that came up with this tradition were farmers who worked some of the most fertile soil around. For us Americans, think Kansas. Think long cold winter nights hoping for spring. Then Christianity came to the Ukraine… and rebirth took on an entirely new meaning. Today’s pysanky is a combination of both meanings. Traditionally, pysanky was a present given year round… to celebrate births, marriages, birthdays… bestowing the wish of prosperity or long life or calling on protection for its owner.
There are variations on the meanings of the symbols, but basically, they remain the same.
Wheat: bountiful harvest
Tripods/triangles: Holy Trinity or birth/life/death or man/woman/child
Fish: Christ
Horse: wealth, prosperity
Rooster: fertility
Pine tree: eternal life
Deer: wealth, leadership
That’s a good start.
Grab a pencil.
Let’s go.
This time I’m going for two main designs separated by two eternity bands.
Design one:
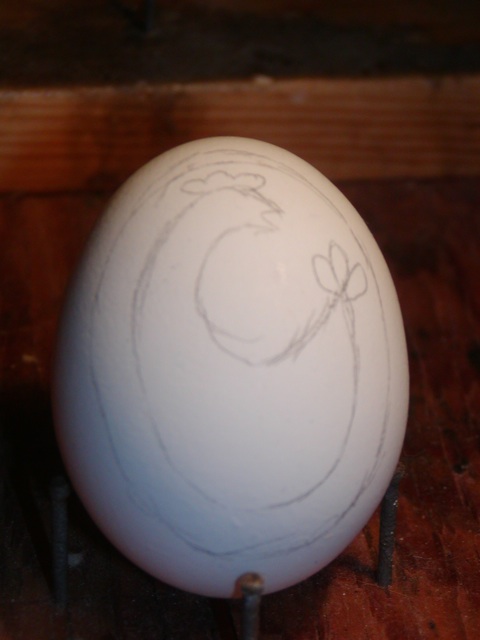
LIGHTLY sketch your design. Did I say LIGHTLY???? YOU CANNOT ERASE! Erasing blocks dyes from penetrating your egg shell. I did it a little darker than needed so it would show up.
I’m doing a rooster.
Just cause.
Just do it… you’ll learn along the way… it is only an egg.
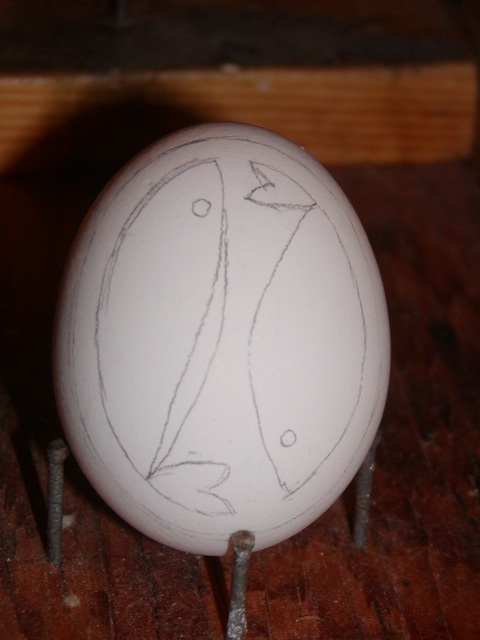
On the other side…
This side is gonna be two fish. Whoops, made a crooked line… no big deal. It is just an egg!
Now I’m not one for drawing out my entire plan. I have lines drawn to divide the egg in half, I have my main designs… the rest I fill in as I go. If you need more planning… go for it… sketch it in now.
Look at photos and books and get a feel for the traditional styles. We’ll touch on non-traditional later.
Leave your egg out of the frig. It won’t hurt it. Just put it somewhere safe… and think about it. Because the hard part is not the design for most people… it is thinking where the dyes should go and planning ahead…
Look at this again.
You plan from light to dark… usually you dye yellow first, then orange, green, blue, red, black. White you ask? What about white? White is the color of your egg, and this is a wax resist process, sooooo… EVERYTHING you want white will have to be covered in wax first. There’s no coming back and putting white somewhere you forgot about. Look at the egg. See those “stitches” on the orange and yellow star on the bottom? I had to put them on first. See the inside of the poppies??? I had to put them on first.
Confused?
Yeah… well, it IS confusing at first.
It’ll become clearer on our next lesson.
I promise.
Find me here!
