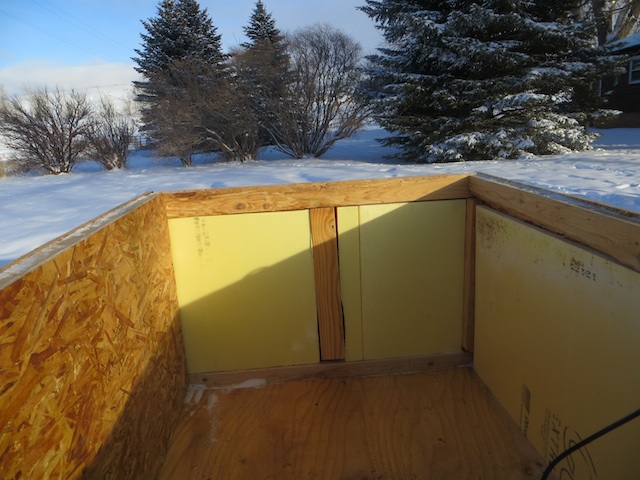
The day started off at -13º… but after lunch, with sunshine and no wind, the +10º felt quite agreeable! I spent a little time insulating the walls of the dog house and installing one wall. I also built a little “foyer” wall, an attempt to block the wind from just entering and swirling around the interior. I’ll have to drag another sheet of OSB up, or have Brandon haul more for me, before I can do more. I’m liking it though!
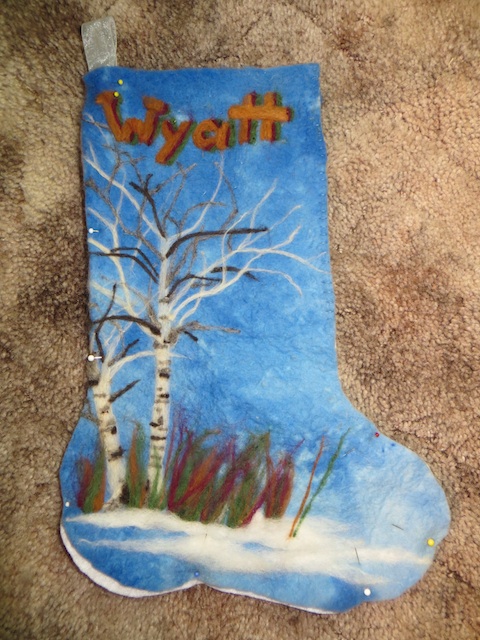
I also finished Wyatt’s Christmas stocking… (OK, I’m still sewing around the outside edge…)
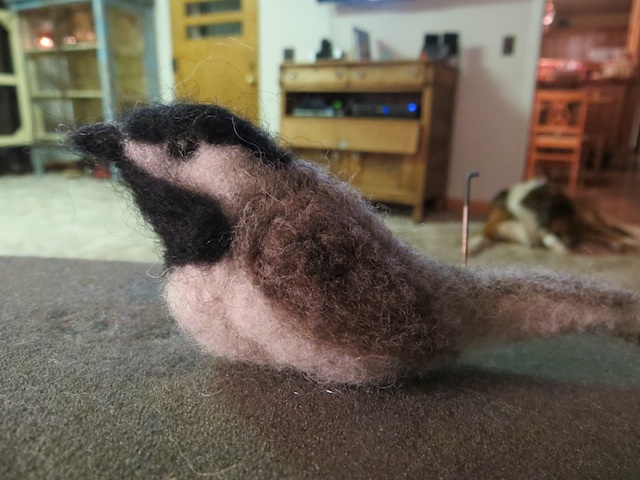
and I made myself a little friend…
all with the needle felting process!
We might as well begin the “How To Needle Felt” tutorial!
First… supplies.
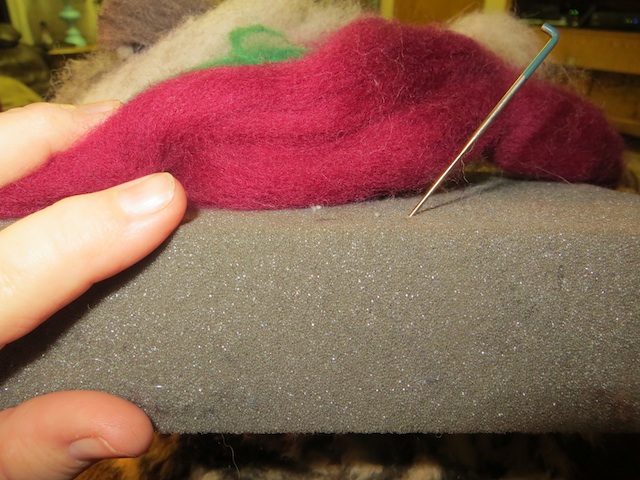
The needle is a barbed needle, extremely sharp, with a bent end. Felting needles also come on wooden handles, 5 or 6 in a bunch. These are made for quick work of felting… saving yourself many many piercings. I don’t own one yet, but I imagine I’ll be buying one soon! 😉
Roving. Roving is wool that comes in thick strands, ready for spinning. I’ve purchased some through the local wool store, Overstock.com, and Hobby Lobby. It’s out there, you just have to look!
You also need either a brush that resembles an old hair brush or a small section of foam. This is to lay your project on, which then absorbs the punches of your needle. I like my foam… though I can see where it will wear out at some point!
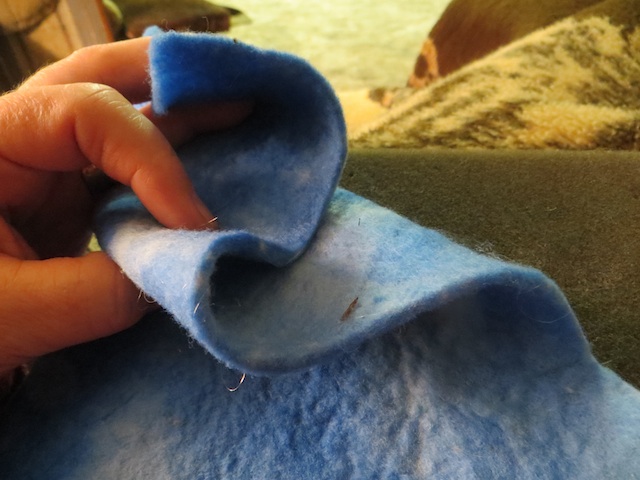
Wool. I’ve purchased pre-made wool felt for the Christmas stockings I’ve been working on, as well as the black wool purse I made for Megan. I washed wool sweaters from the thrift store as well… all work great for backgrounds. If you’re making a stocking or purse or pillow or wallhanging, this is important! If you’re making a little friend or a wool ball for your clothes dryer or just for fun, you’ll only need roving.
Go gather your supplies… I’ll be back with more tomorrow!
Find me here!