Well, besides everything else that’s typical of Christmas preparations, I thought I’d try making my own mittens!
Now, technically, I was going to make mittens for the grandsons to use… felting old sweaters and cutting them into mittens and sewing them together. As I’ve explored ways to do that, searching the internet and youtube, I’ve run across some “problems”. First, it means you have to SEW. Me and my sewing machine (which, by the way, is the first Christmas present Vernon ever gave me… which I did not ask for… nor particularly want… though it has come in handy!) are not always the best of friends. Second, I’m usually LOUSY at sewing. Have I mentioned I’m not really big on sewing?
I tried to do this last year… zipping through instructions and just sewing a simple mitten outline. Remember that? Yeah, I did one mitten inside out, or right side in, depending on how you look at it, and I laughed and chalked up another failure…
But, I thought I’d try again.
I noticed there were a ton of how to felt your own slippers videos on youtube. I’d like to do that… but Focus, Carol, Focus on MITTENS! Okeydoke. If you can felt your own slippers, how come you can’t felt your own MITTENS?
And, she’s off!
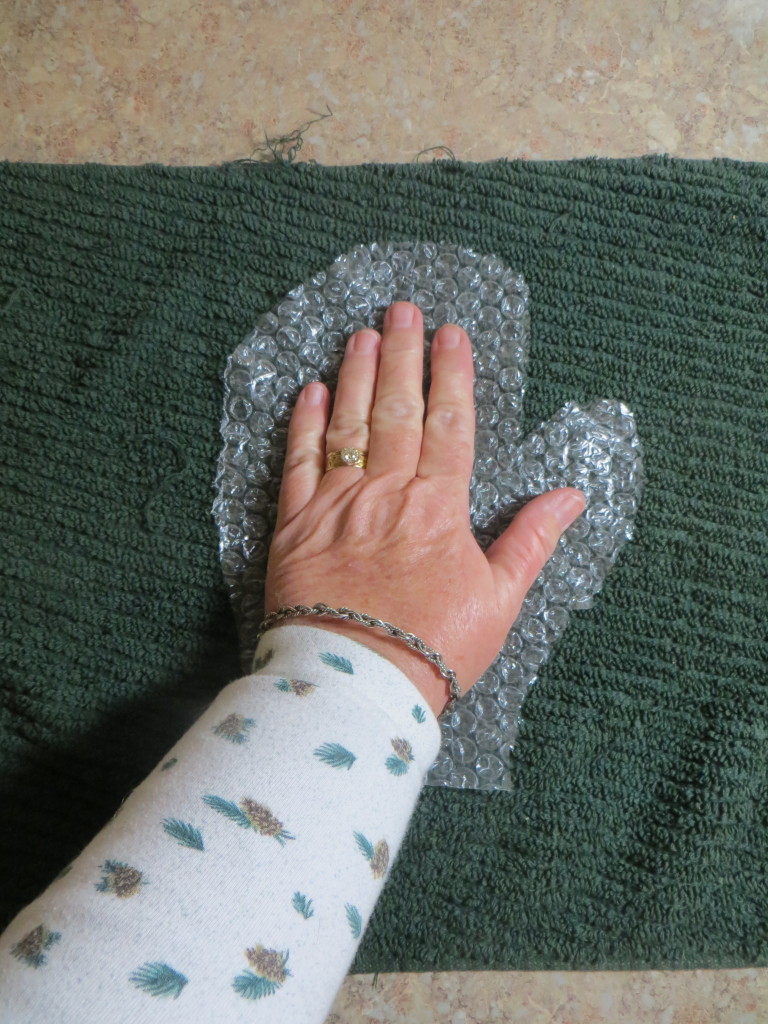 Bubble wrap. Who knew bubble wrap was such a great crafting tool? I made the outline bigger than my hand… thinking of shrinkage and room for my hand.
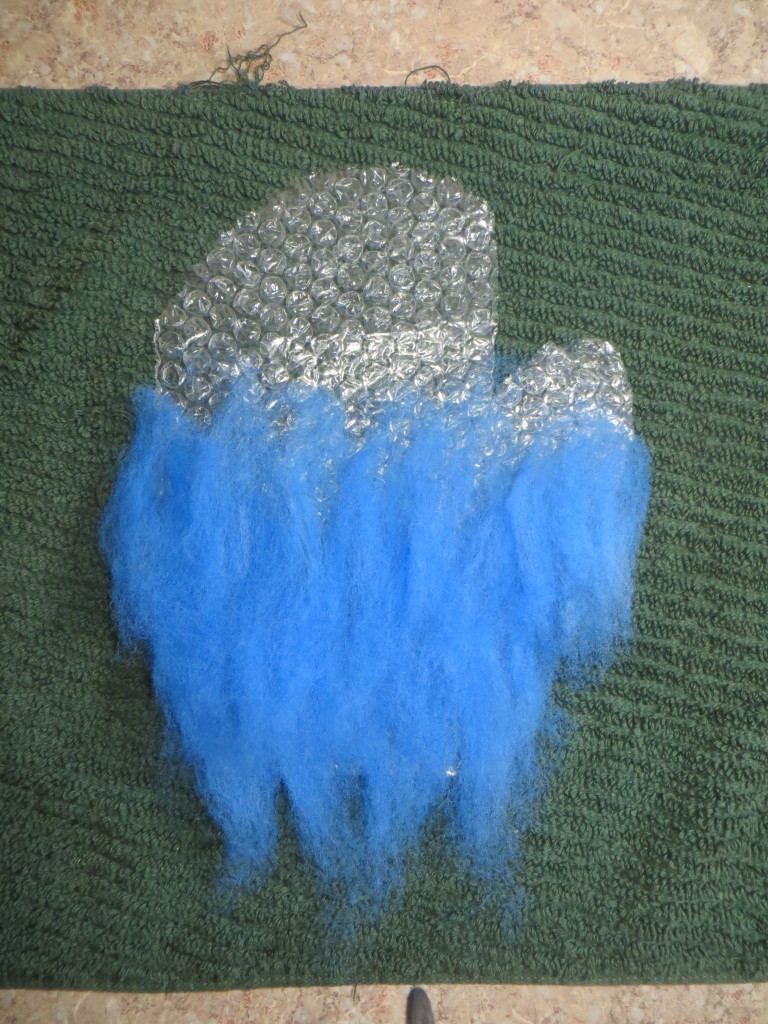 Tufts of wool roving are pulled and layered bit by bit over the bubble wrap pattern. When the pattern is completely covered with tufts of overlayed wool, hot, soapy water is sprinkled onto the fibers, and more bubble wrap is placed on top. The wool is then pressed down, and gently worked just a bit to start the felting process.
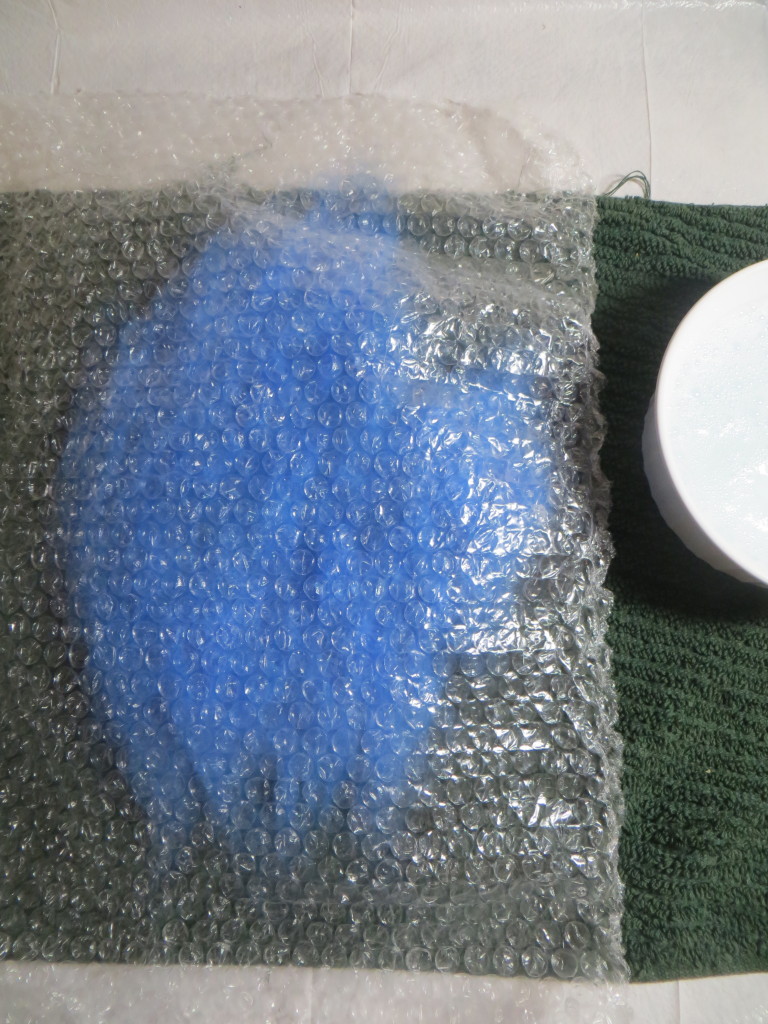 Once it has been worked for a few minutes, gently lift and turn over. Any wool that is beyond the pattern (and you *DO* want wool beyond the pattern), simply fold over the bubble wrap.
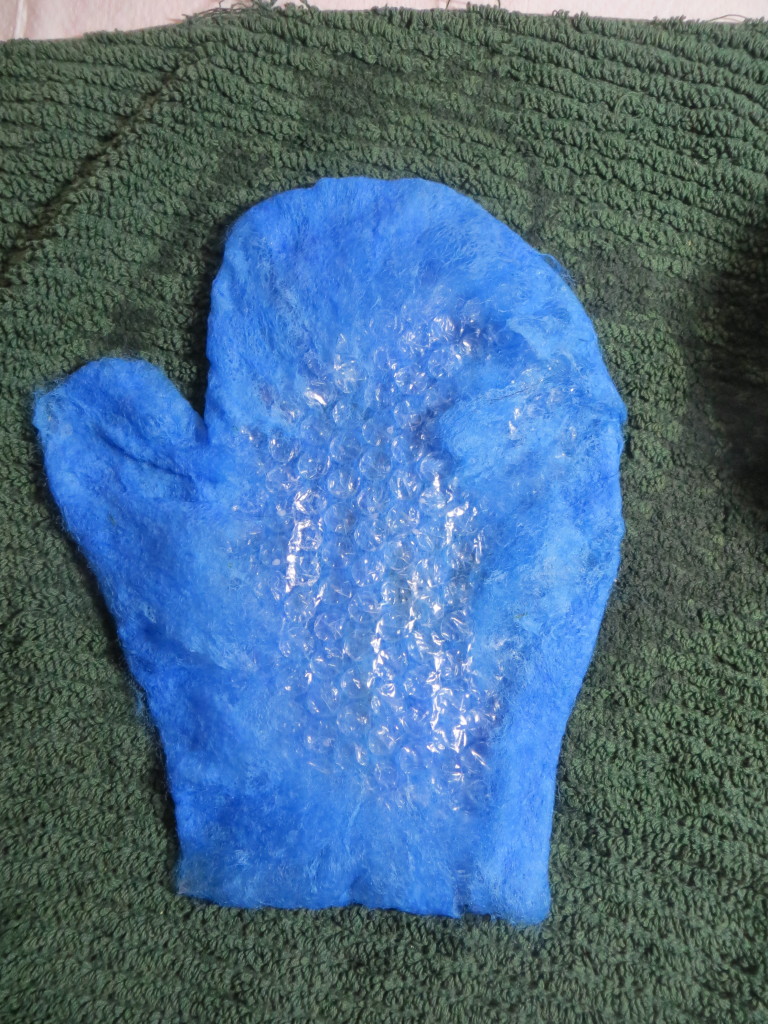 Now place tufts of roving on top of this side of your pattern, making sure the overlapping tufts stick out beyond your pattern, creating the sides of your mitten. It will take four layers of wool to complete your mitten. Alternate layers should be laid on horizontally, creating a stronger felt. It’ll work if you don’t, but you should do it that way… don’t ask me how I know…
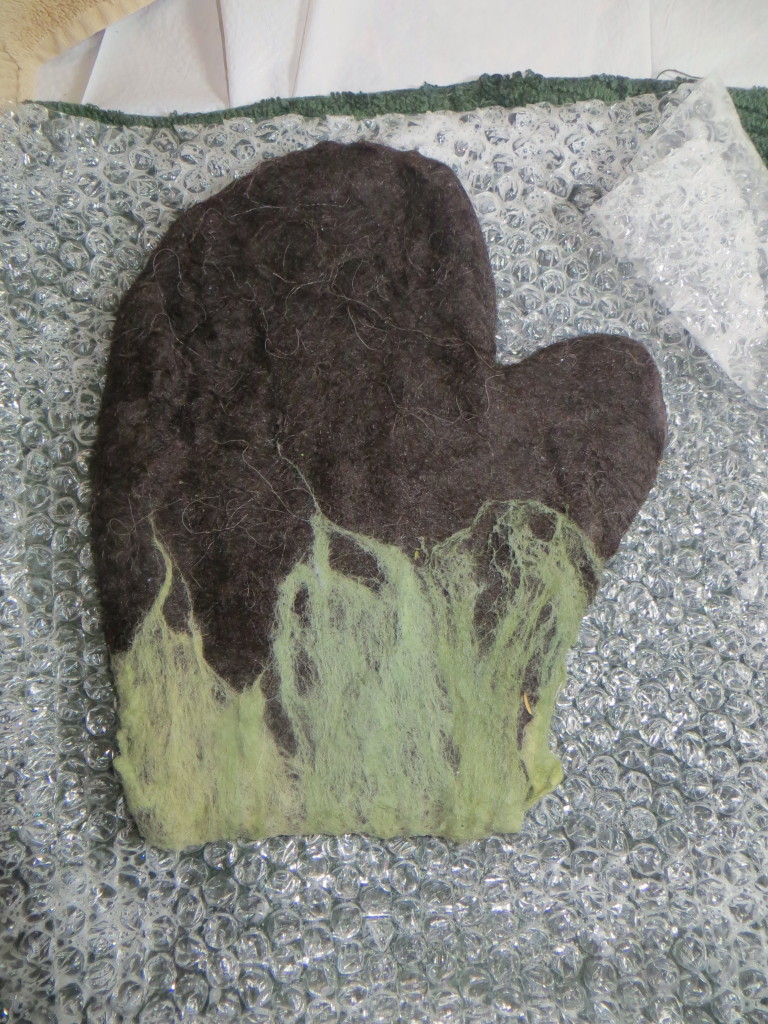
My final pre-shrunk mitten looked like this, with a bit of green on for decoration on the cuff.
Next, gently cut open the cuff of your mitten, cutting as straight as you can… revealing the multicolored layers (I’m running out of wool!).
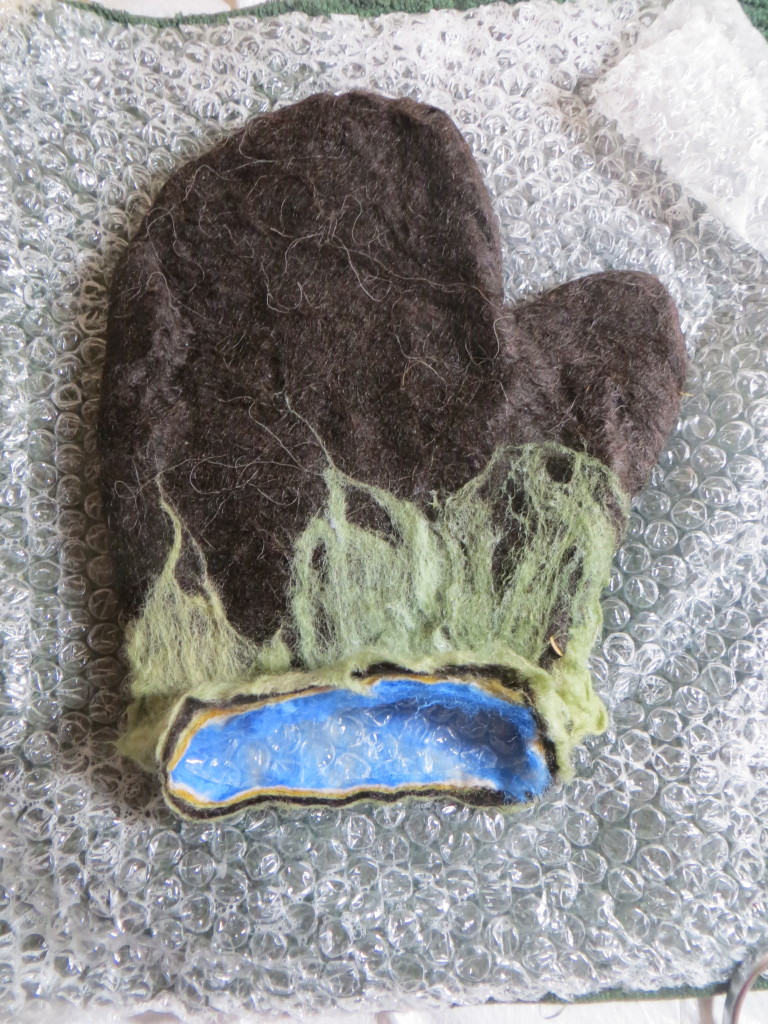 The edges will felt together, but pay close attention that they do! I then rolled the mitten in the bubble wrap until it looked like a rolling pin, and rolled it back and forth. Back and forth. Back and forth. Unwrap and rewrap from the side. Back and forth. Again. Again. Roll it up from each direction, and roll it. It should be felted together well, but it was HUGE on my hand.
I didn’t expect it to be quite so big! But looking back at my pattern… yup. It was one and a half times the size that would fit, but that’s ok, because I expected to shrink it down! I pulled out the pattern, slid in my hand, and went to the sink. More dish soap and lots of hot water and shaping, especially around my thumb and wrist.
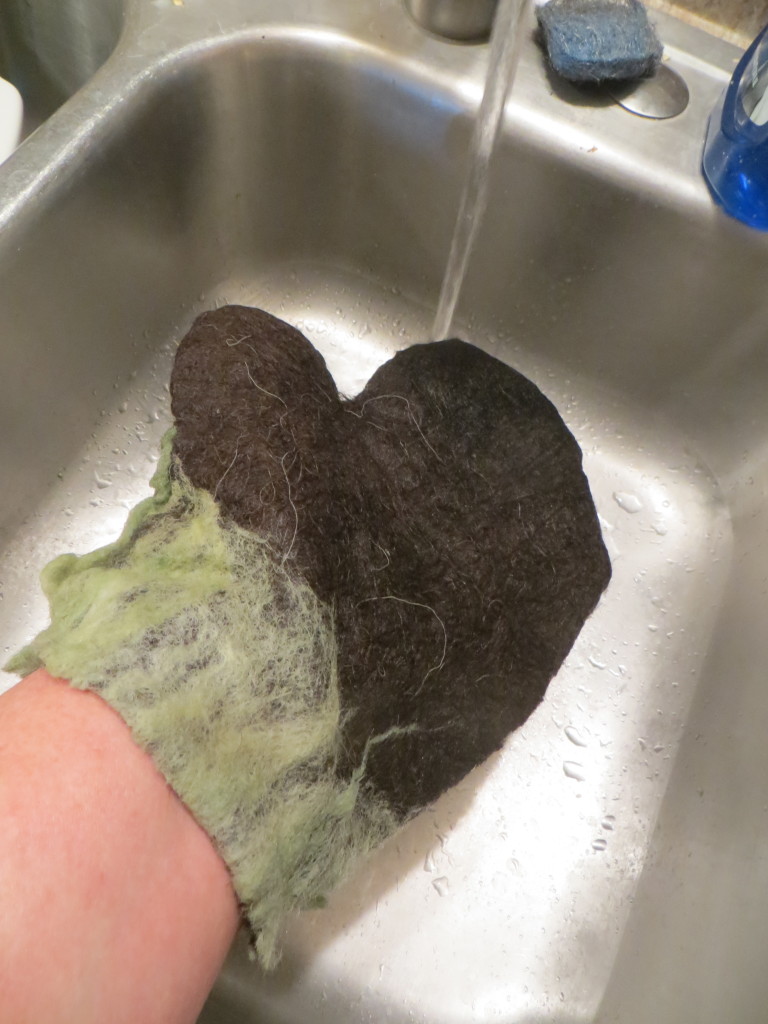 It’s like magic! The wool shrinks, thickens, and forms to your hand… with lots of soap and hot water! I didn’t form it too much, preferring the looseness and warmth you get from a layer of air around your hand.
Cool, huh?
I’m very happy with it… though I’ve learned a few things…
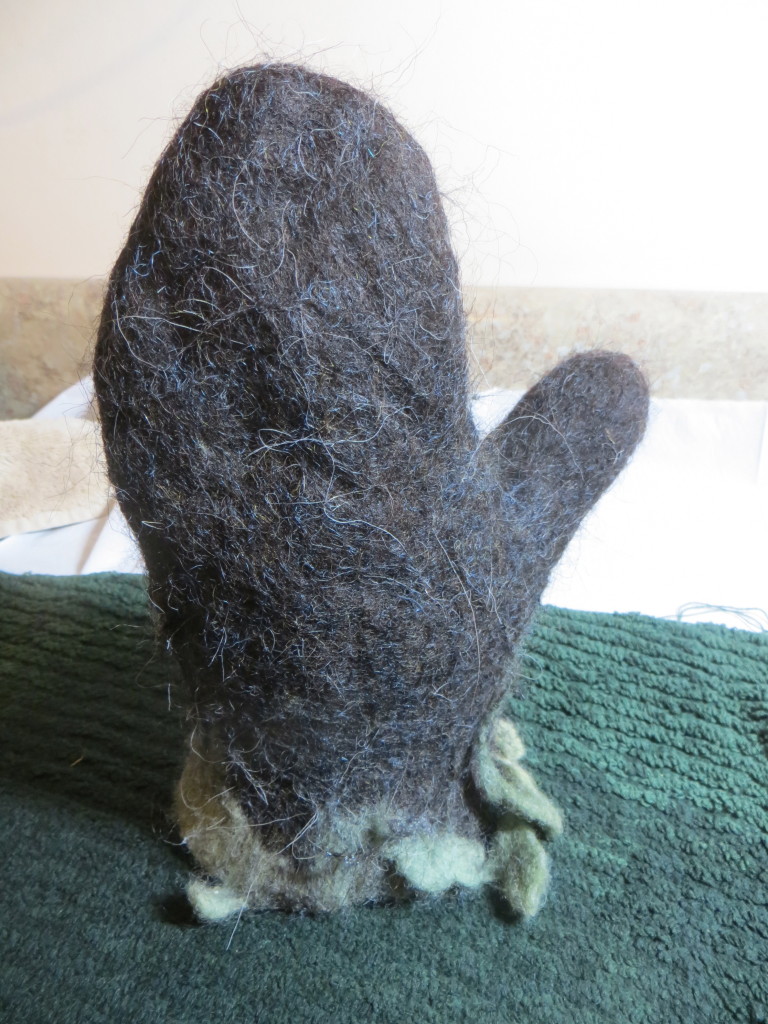
1. My green decorative cuff should have been put on with the final layer, not after I had felted the final layer, so that it would have felted on better. I’m going to try to needle felt it back down, or cut off what is pilled up and unattached.
2. I used my last bit of dark wool from Vernon’s horse blanket for the outer dark brown. It is supposed to be Churro wool, and it is Very Hairy. Hairy enough I may shave it! Seriously, that’s how you can get rid of all those long hairs… If I’d do it over again, I’d use my normal wool roving, which felted solidly and smoothly for the outside too!
3. These mittens work great for wearing with my winter coat, but aren’t great for playing or working outside, because the cuffs are too short. Snow leaks in. I think they’ll be my “driving mittens”.
4. They’re just crying out for embellishment beyond the cuff, but that, I’ll put off for a bit… I have mittens to make for tiny hands!
5. Why, yes… you can felt your own slippers… and mittens, too!
Find me here!
I see you share interesting things here, you can earn some additional money, your blog has big potential,
for the monetizing method, just type in google – K2 advices how to monetize a website
Dulcie recently posted…Dulcie
Thanks so much for posting this. I just used this tutorial to make a pair of lightweight liners for a pair of mittens I knit but weren’t very warm. I’m excited to try them out as it’s been super cold here in Boston.
I hope the tutorial works for you! I really love my mittens, and keep wanting to add a cuff so they’d be perfect. Let me know how they turn out!
I am loving all your felting projects, as always. For the cuffs that are too short — what about adding a knitted ribbed cuff to the edge, maybe attaching the knitting on the inside, about an inch or two up, so the felted cuff shows over the edge? I think I would knit it separately and then whipstitch it securely in place.
Kris recently posted…promises, promises
I love it!!! I agree with sewing, pffffffffftttttttt!
Super awesome! I want to try them too! I have some alpaca that I got from my sister…..I think you just gave me another after Christmas project! Thank you