In the past, I’ve seen gorgeous “landscape” scarves on the internet. The scarves are wet felted from roving, then needle felted with details. Ever since I saw the first one… I’ve wanted to make one! Isn’t it perfectly delicious?
Finally, I did.
Part One of this journey begins HERE.
I’ve laid out my roving until I ran out of blue. I was forced to wait to get more so I could finish it! That finally happened Friday… Sunday, I got back to work.
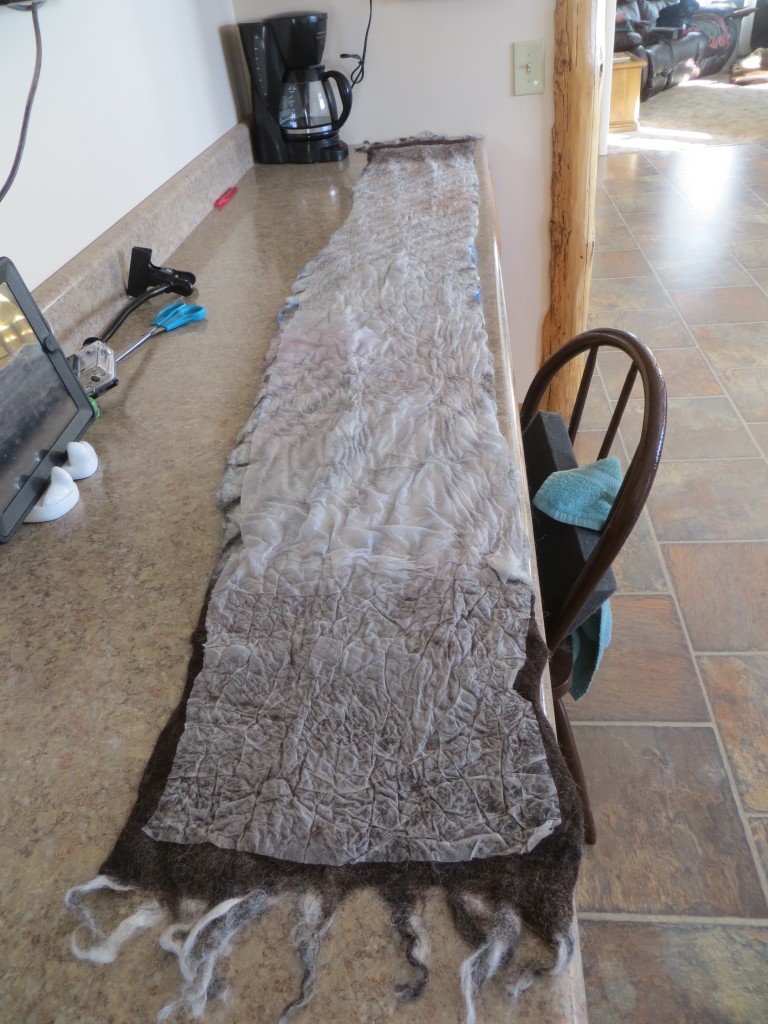
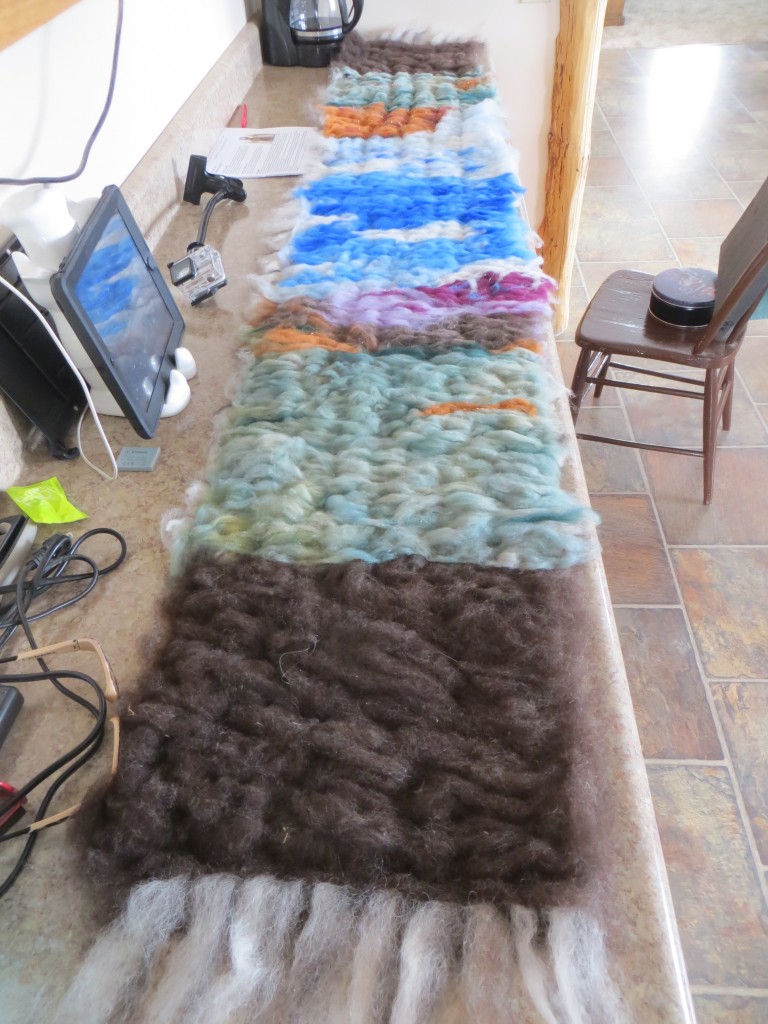 See the blue sky and mountains with snow, a few red slopes, and sagebrush? I added the brown just because I was planning on 1/3 shrinkage and wanted to have enough length. With this process, for the first time, I used ArtFelt paper, (affiliate link), which is supposed to aid in the felting process. The paper is on the bottom and I have punched enough of the scarf roving into the paper to hold it in place, hence the “bumpy” look of the wool. I turned it over so you could see the paper when I was finished temporarily felting it.
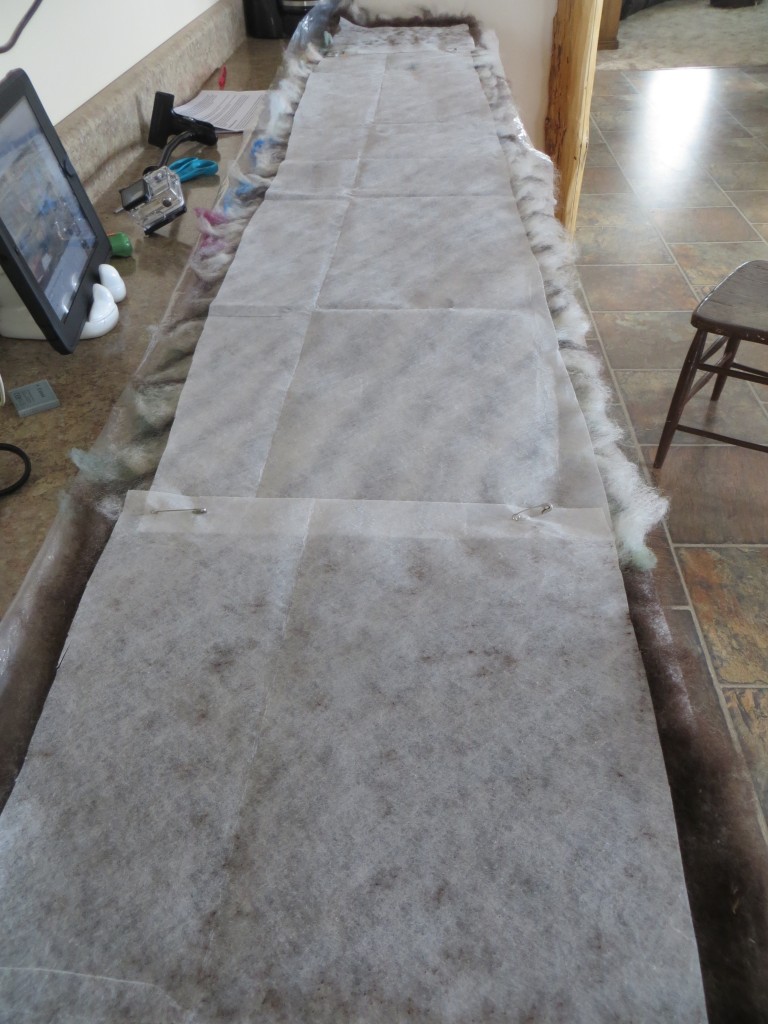 Plastic is then needed to keep the scarf separated from itself because I’m going to roll it up and get it wet and begin the felting process. I happened to have a few clear bags that worked perfectly.
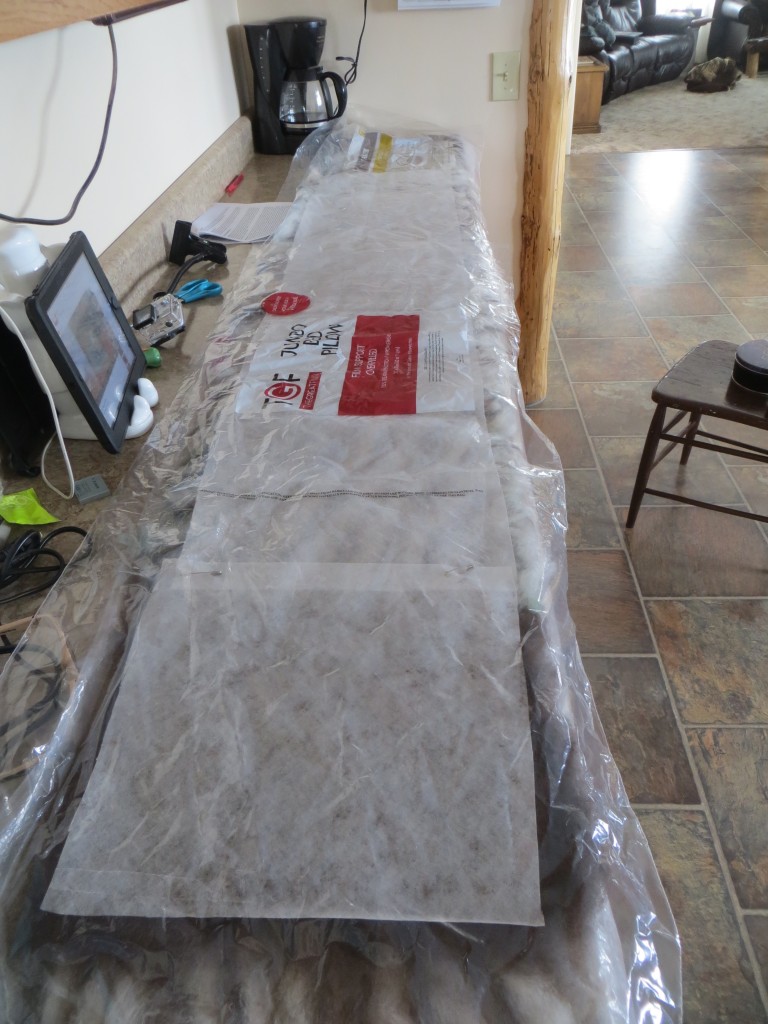 I rolled it up and went to my mud room sink. I laid down an old towel and soaked it with water, then began unrolling the scarf and wetting it in sections.
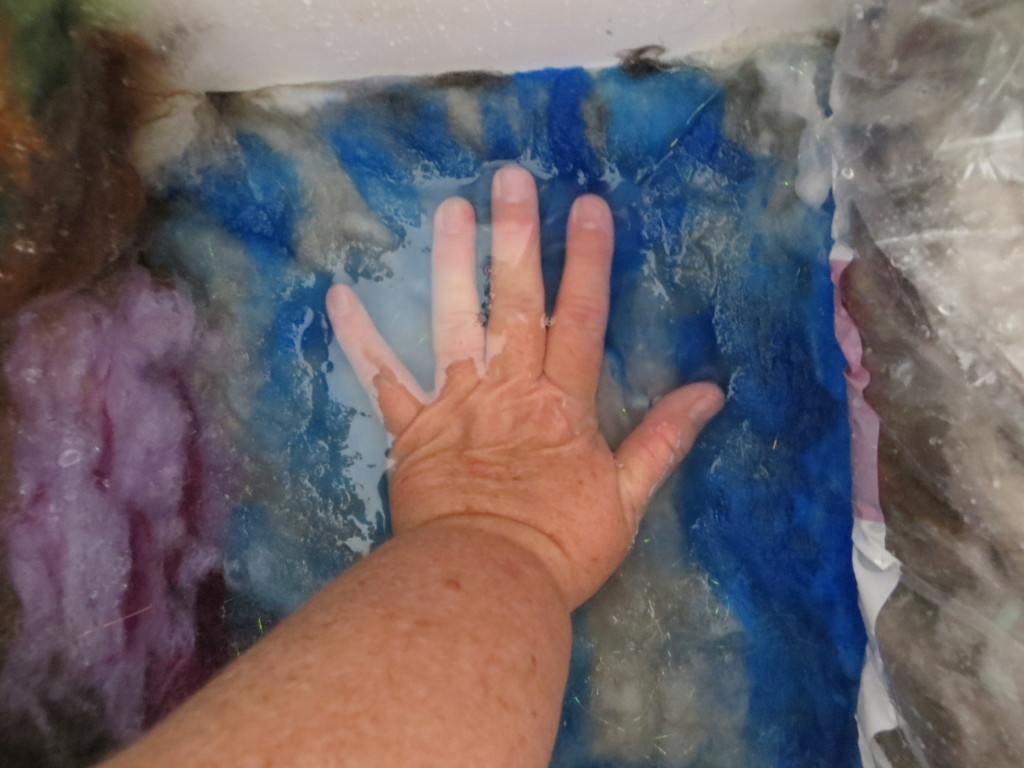 It was a simple process of unrolling the scarf on the left side, wetting it thoroughly with cool water, then rolling with plastic in between the layers on the right side. Next, I managed to squeeze it, plastic and roving alike, into a nylon kneehigh stocking. Yes, it fit!
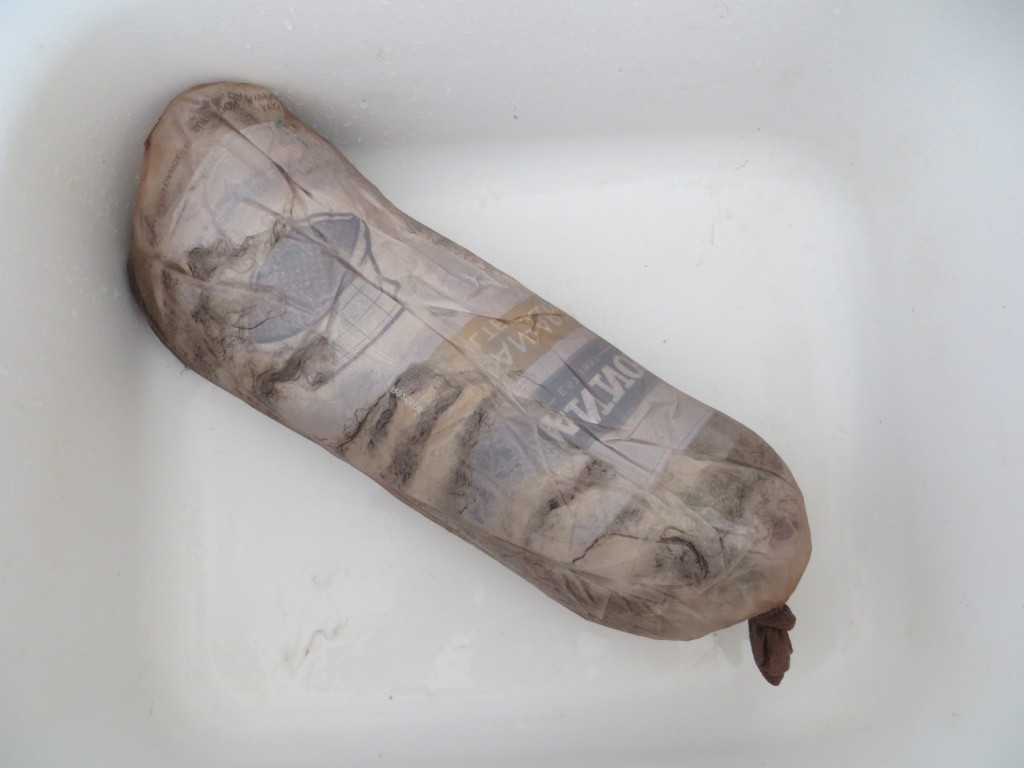 Believe it or not, the next step is to throw the wet scarf into a cool dryer. We don’t need the heat, we just need the agitation. Ten minutes later I checked it. I gave it another ten. I could see that the ends were being felted, but the center was wider, so I rerolled it scroll-like and threw it back in for another ten. Then another.
There was some variation in the width, but I decided to take it to the sink and use my washboard to shrink it up by hand. That worked perfectly! You can tell the wool has felted because not only can you SEE it and FEEL it, but the ArtFelt paper is wrinkled. After it was all over with, the paper did save me from much sweating and grunting! It’s a workout!
To get rid of the paper, you must pour boiling water on it. It *has* to be boiling and the paper just disappears. It’s rather neat to see! I think I used about 5 teakettles full to rinse it all away.
Of course, I had to forget to take pics of one step… and it was this one!
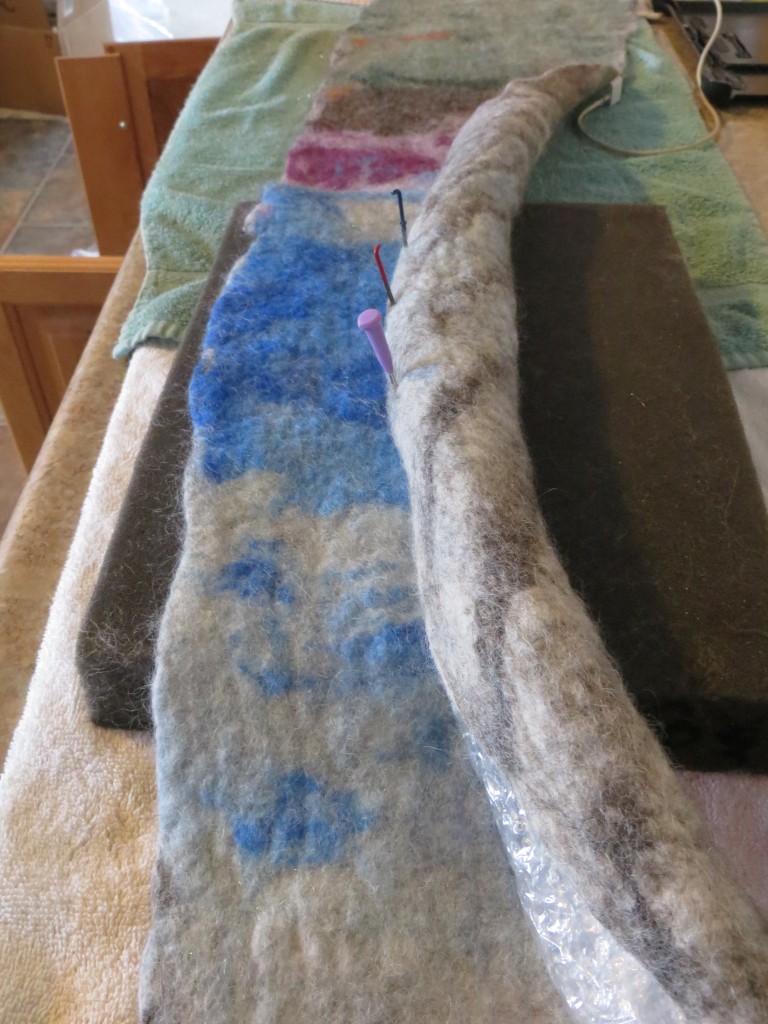
Here it is, though… the almost finished project.
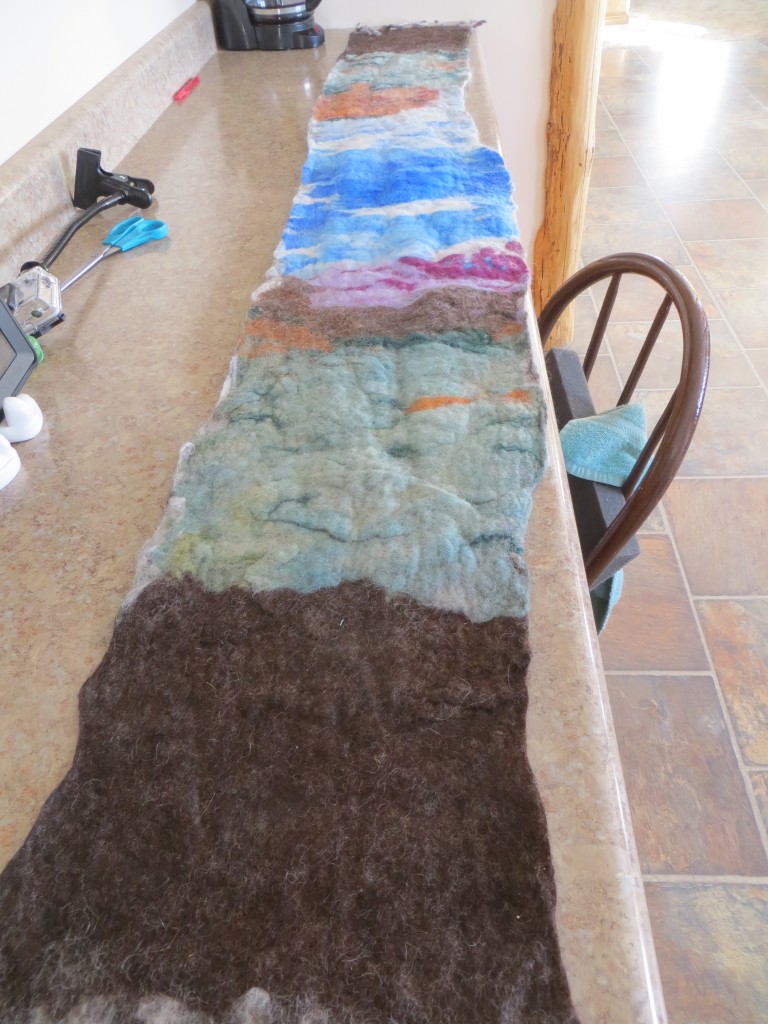 With some pulling and straightening, it looks pretty good! It didn’t shrink as much as I thought it would… but I liked the thickness of it, and decided to stop here. The only thing I decided to do was create a “collar” by rolling it back around some bubble wrap and pinning it and letting it dry in place. That way, you don’t have quite the wad of wool behind your neck!
The final step will be to add details with needle felting. Trees, wildflowers, details on the mountains and red butte… maybe a bird in the sky! For now… Step Two is finished!
Find me here!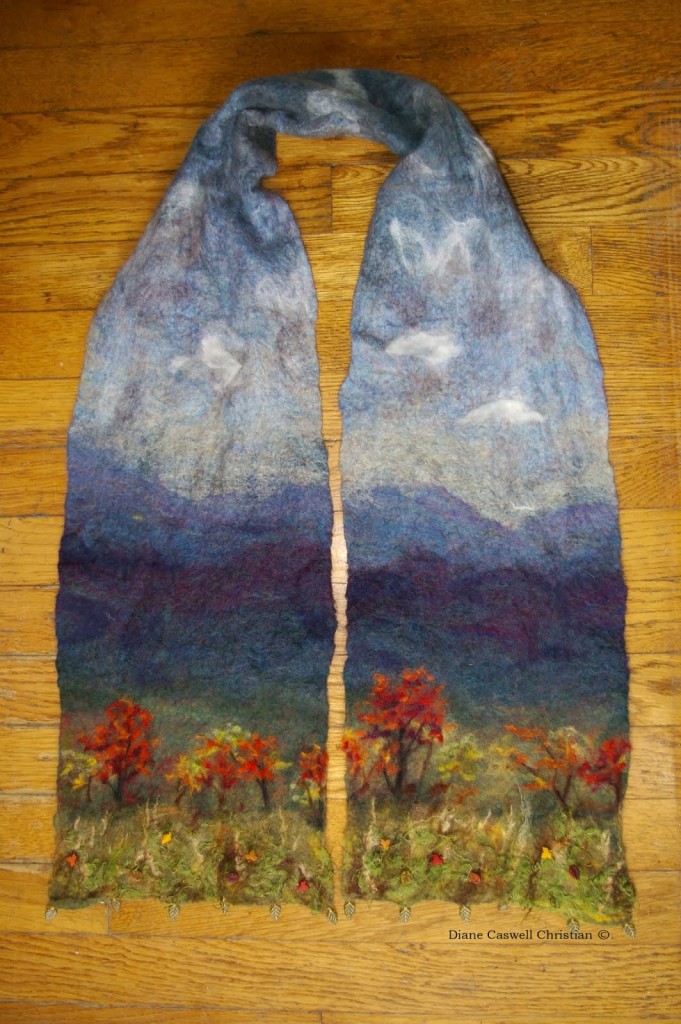
That is beautiful!
That’s coming up Lovely! Can’t wait to see it finished!
Beautiful – nice job!!
Wow! Beautiful work!
It is so beautiful. The brown wool at the bottom worked as a perfect backdrop for the colorful needle felting. I’ve wanted to try felting again so it was wonderful to see such a beautiful product although I will start with a much smaller project. It is so helpful to have the steps explained. Thank you for sharing.
It’s beautiful
Ohhhh, Ahhhhh. What a wonderful creation. It will keep you nice and warm in your Wyoming winters. Look forward to seeing the next step.