It’s been kind of a crafty week… We had a “How To Make A Journal Class” at the library. I will share that at some point… then today, I attended an acrylic pour class put on by my friend, B. B. Has been doing this style of painting for a year or so… now combining the acrylic pour technique with her regular acrylic painting as in this moose.
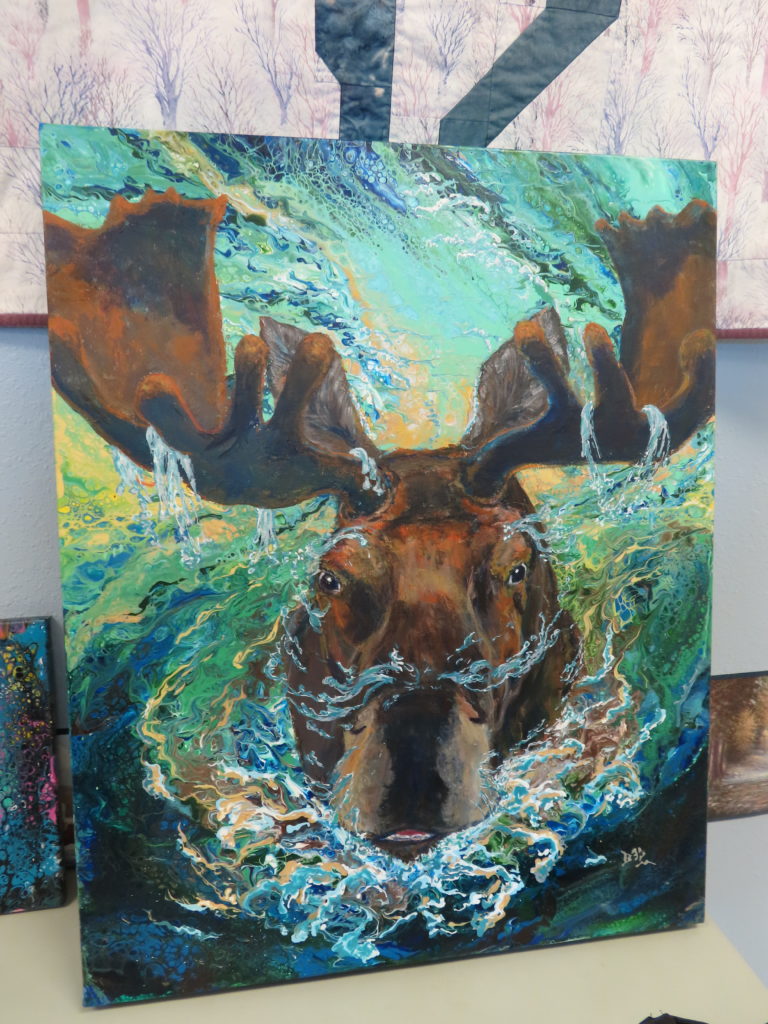
You can get some really spectacular effects!
The basic idea is that you thin down acrylic paint, add a substance called Floetrol and a smidge of silicone. There’s not a great deal of control in this process! For my first technique, I covered the canvas with a good cover of white. I then added a dark brown, rust, and turquoise. This technique is called a Dutch Pour.
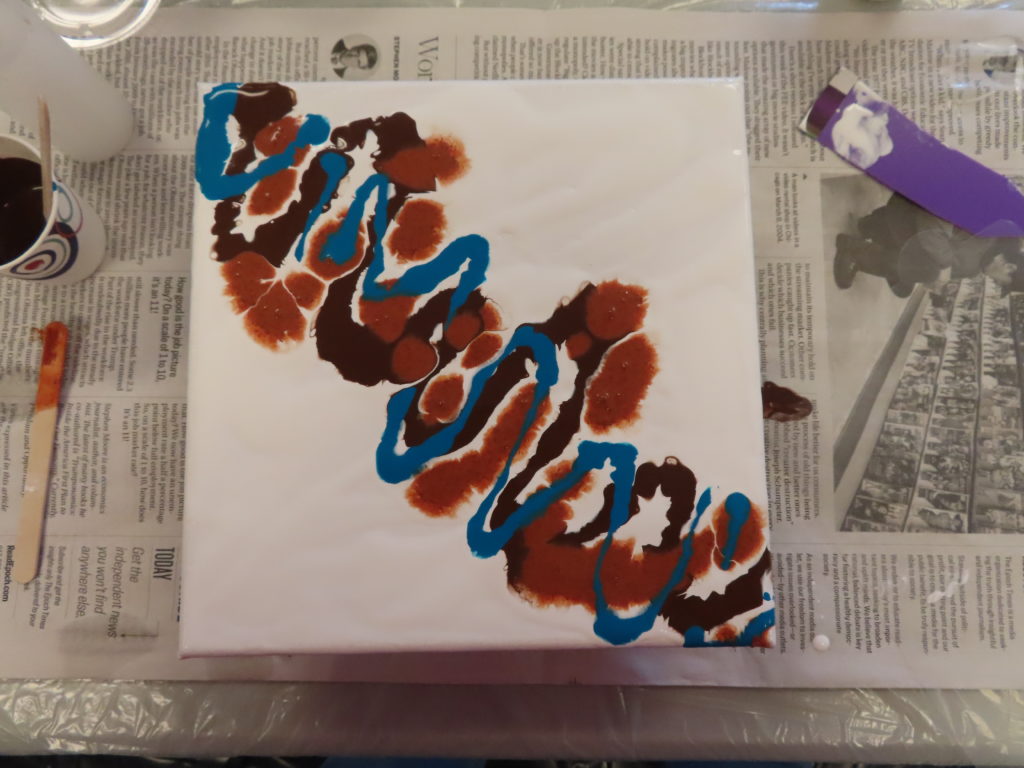
I then took a straw and blew the white paint over and into the colors. You can tell I blew along the top edge in this photo.
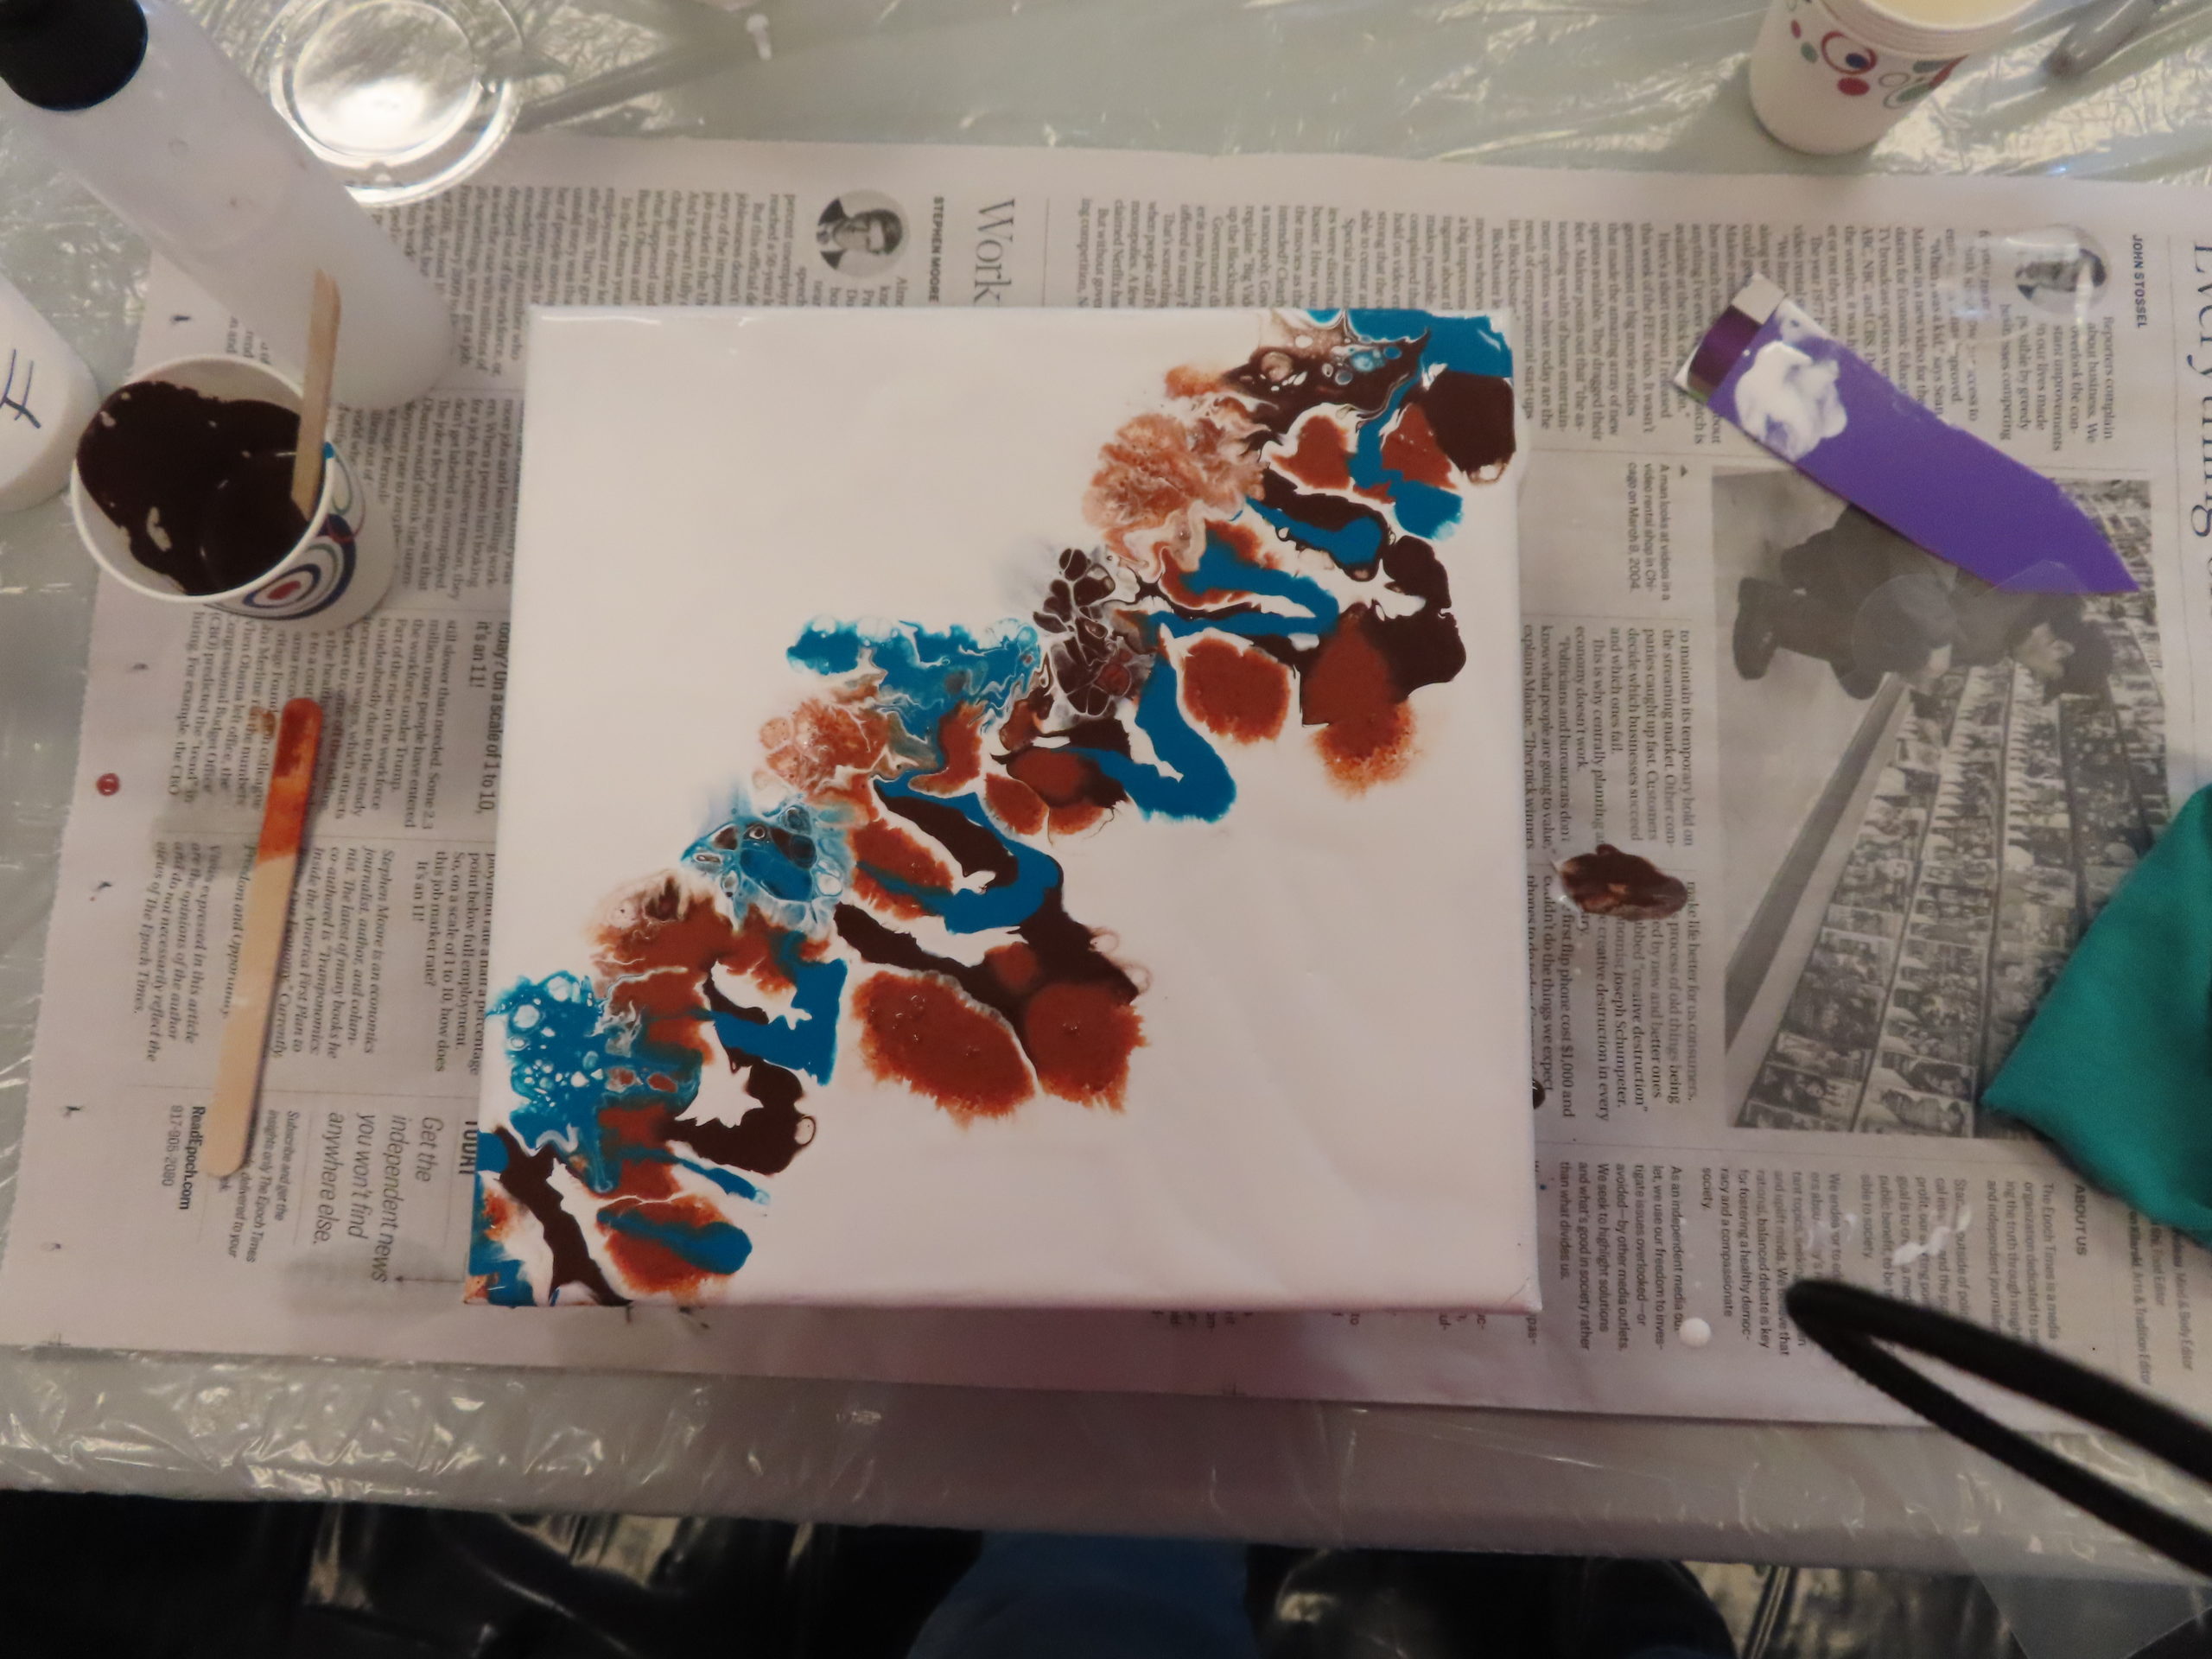
I’ve now blown both sides. You can see the circular cells starting to form. I kept blowing, trying to spread the paint out more. Unfortunately, it started to smudge and get muddy. I stood there and looked and decided to add more color to the white corners.
Of course, I forgot to take pics of that step…
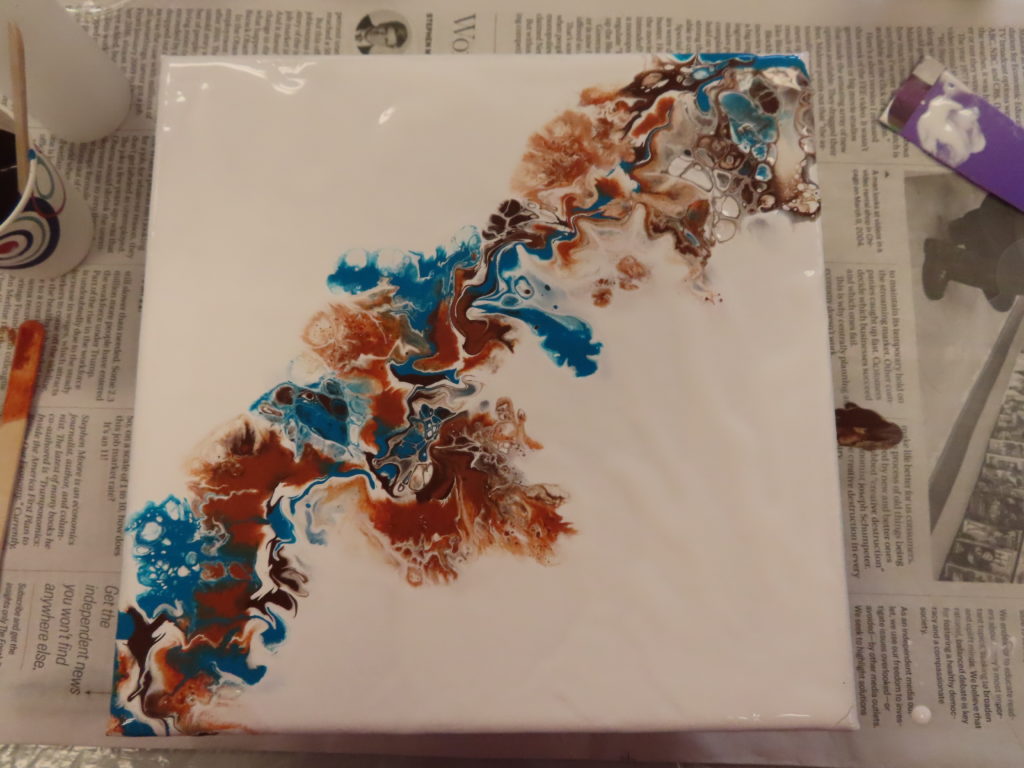
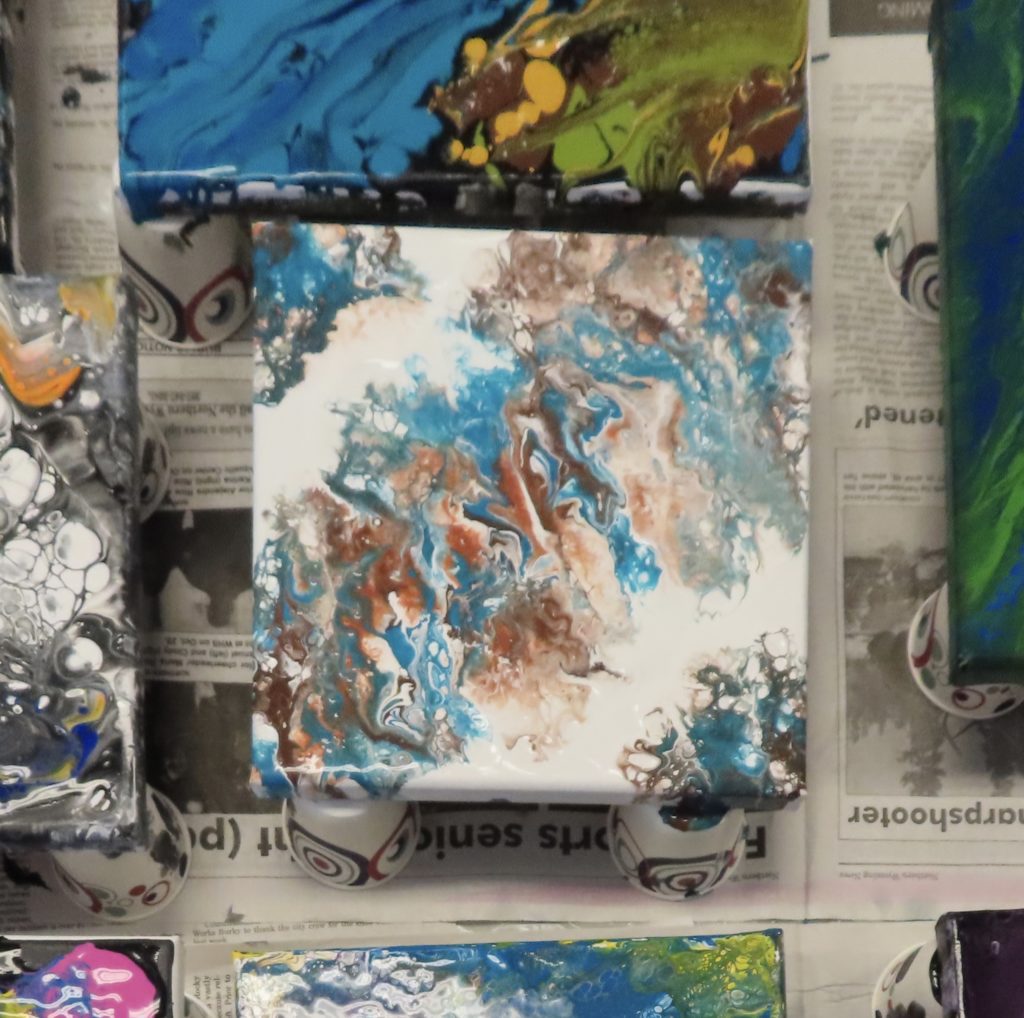
Here’s a shot of my final canvas surrounded by some others from today.
My second canvas, I painted using a swipe technique. Since everyone else in the class had finished, I kind of rushed my ideas. I was trying to make it look like a scene… blue sky, red hills. I also didn’t take any step by step photos since I was rushed.
Again, I covered the canvas with a deep coating of white acrylic paint, then added drops of blue. A thin plastic sheet was just lightly drug across the paint, scraping 80% of the paint away. I then added my “dirt” and plant colors, and again, drug the plastic sheet across.
The result was this.
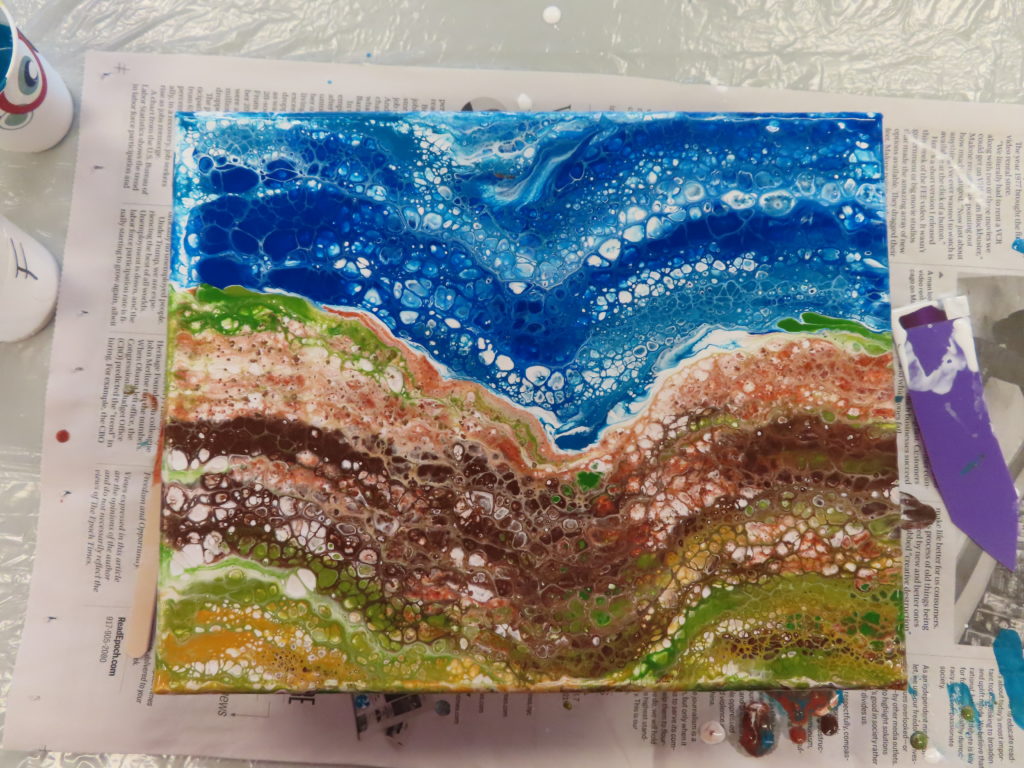
See all the round cells? It’s pretty cool. Looking at it now, I would have done it a bit differently, but I’m fairly happy with it anyway.
Now we let them dry for days… I’d recommend going to YouTube and see what amazing canvases real artists are doing!
Find me here!
Wow. These are amazing. It’s interesting to not have full control of where the paint goes and just let it go it’s own way.
my grand daughter does painting like this