For those of you procrastinators… who haven’t dyed your Easter eggs and really… that means you’re LATE… and you insist you aren’t the Crafty Type and therefore totally ignored my earlier posts about the fine Easter egg art known as Pysanky… Here’s my quick and easy How To Dye With Silk Ties Tutorial!
Dig out those 100% silk ties out of the closet. It’s too late to go to the Thrift Store (where I bought mine! Vernon’s not really a tie wearing kind of guy…)
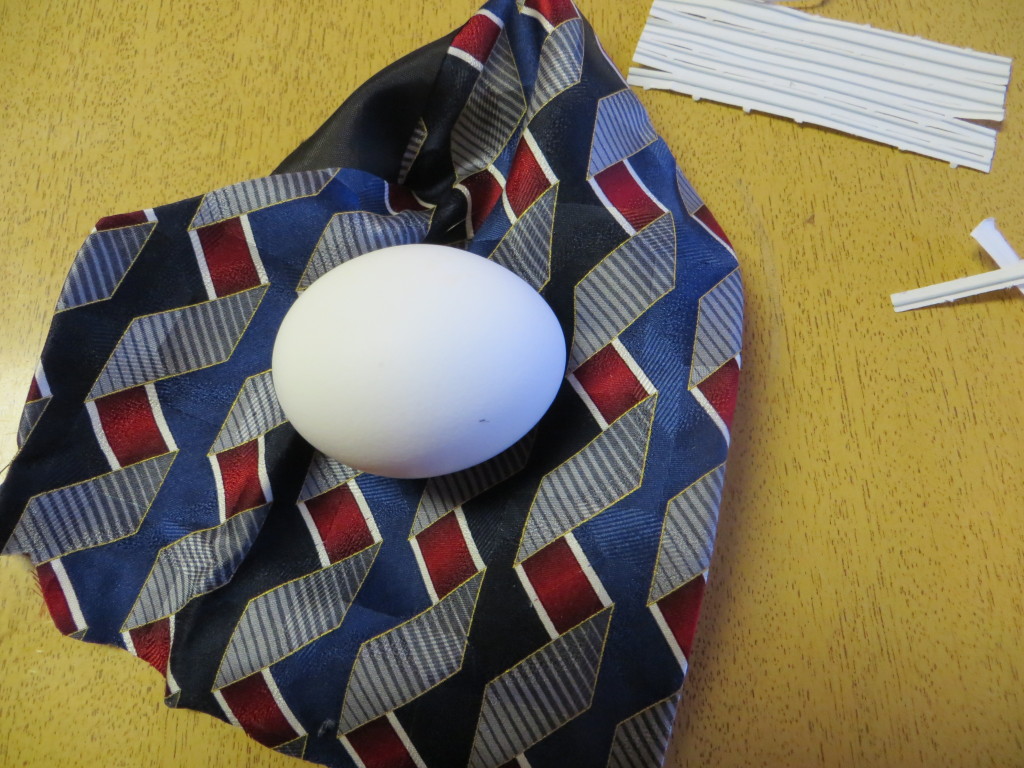
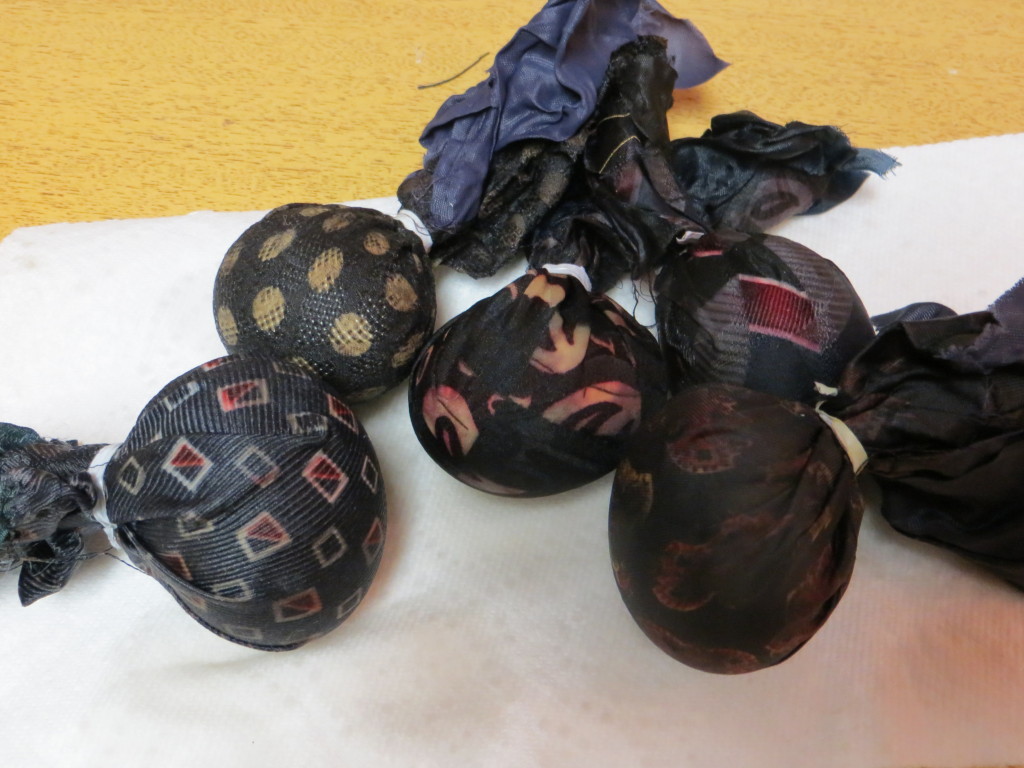
Cut them into big enough pieces to wrap your raw eggs. WRAP THEM TIGHTLY. In fact, I’d use a twist tie, and then multiple rubber bands to make good contact between the egg and the tie. I thought mine were tight, but they should have been tighter. No contact means no dye transfers to your eggs. You could even put them in a balloon or a latex glove… be creative, but make better contact than I did! (You get the benefit of my first trial!)
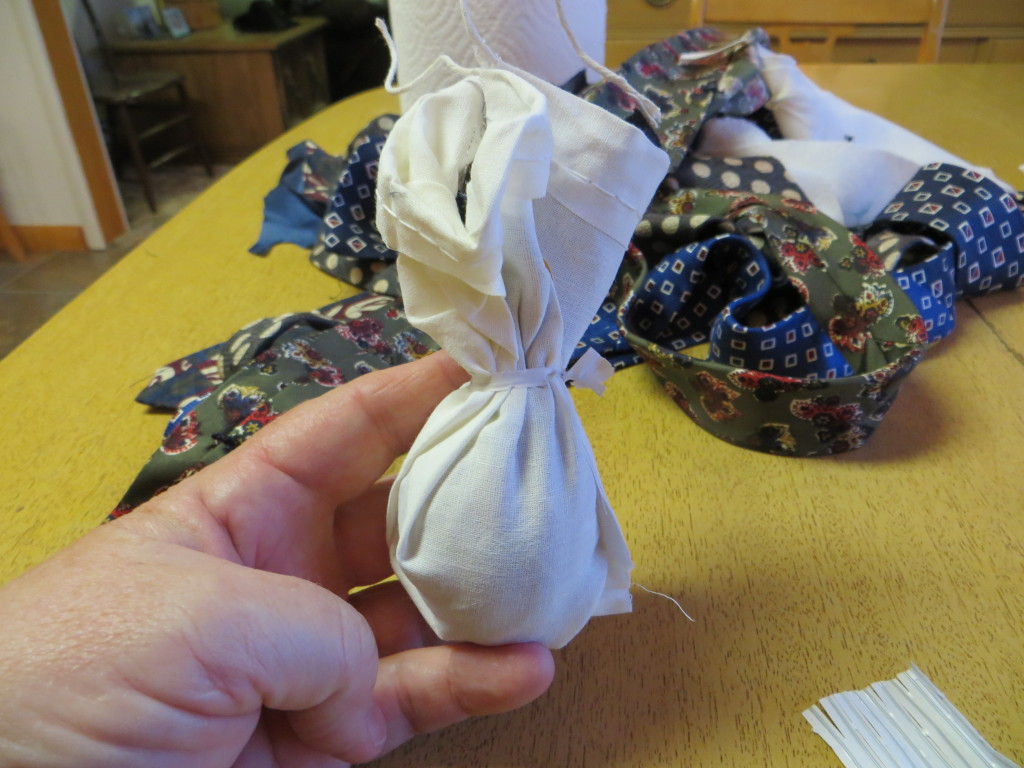
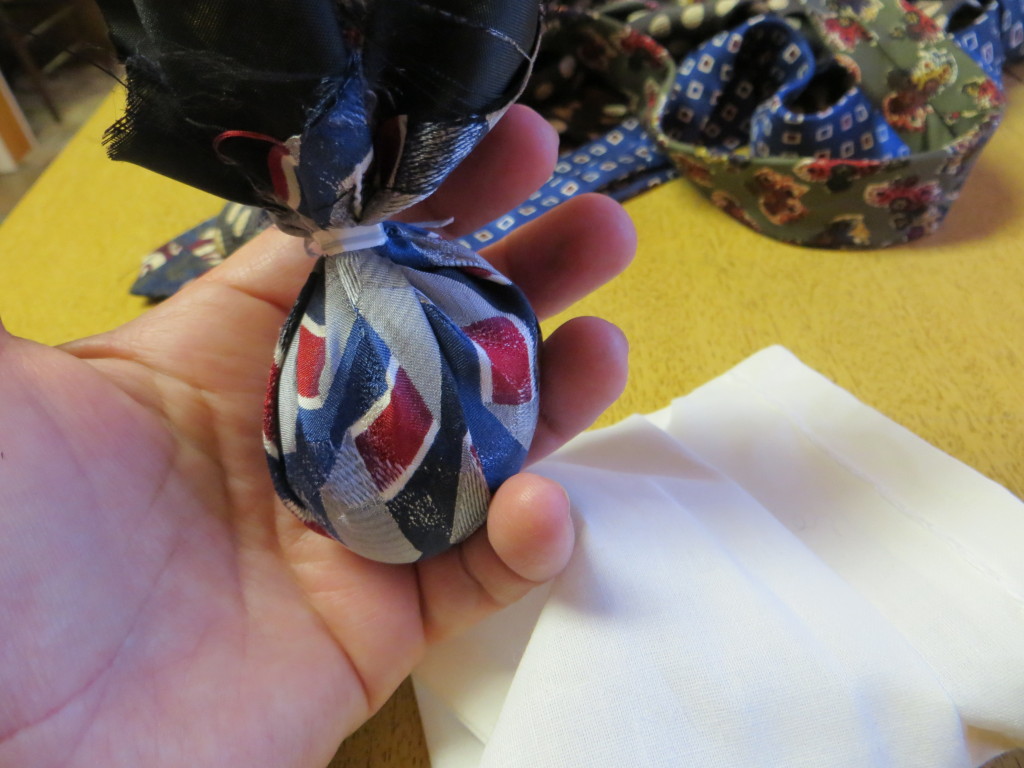 Wrap again this time in a white muslin, white sheet scraps, or whatever you have. I used white cotton geological sample bags. I’m not sure on why you do this… yes, the bag is also dyed at the end, so I can’t really see it protecting each egg from external dye… but the instructions said to do it and so I did!
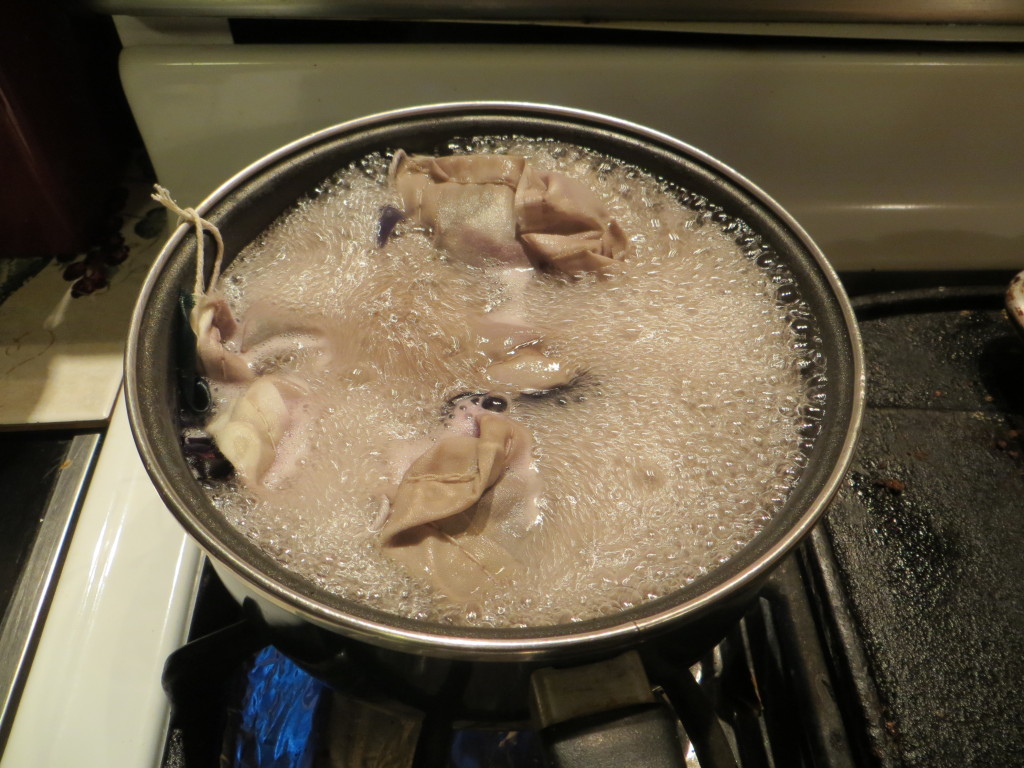
Cover them with cold water, add 3 tablespoons of white vinegar, and boil for 20 minutes.
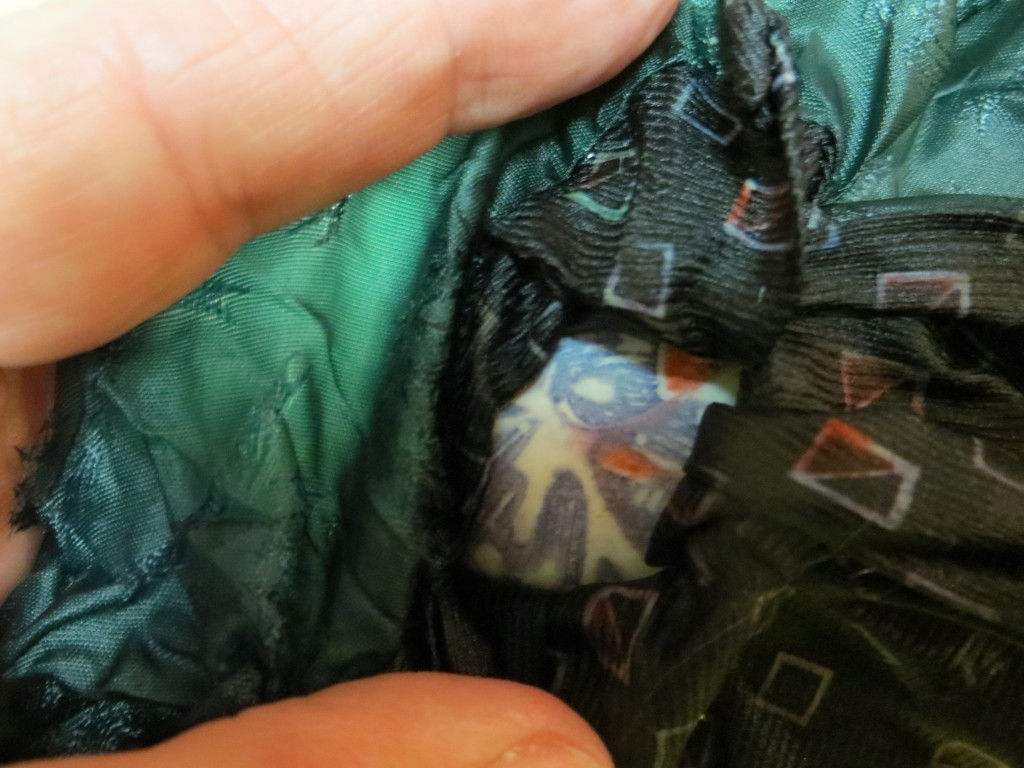
Remove from water and let cool.
Peek!
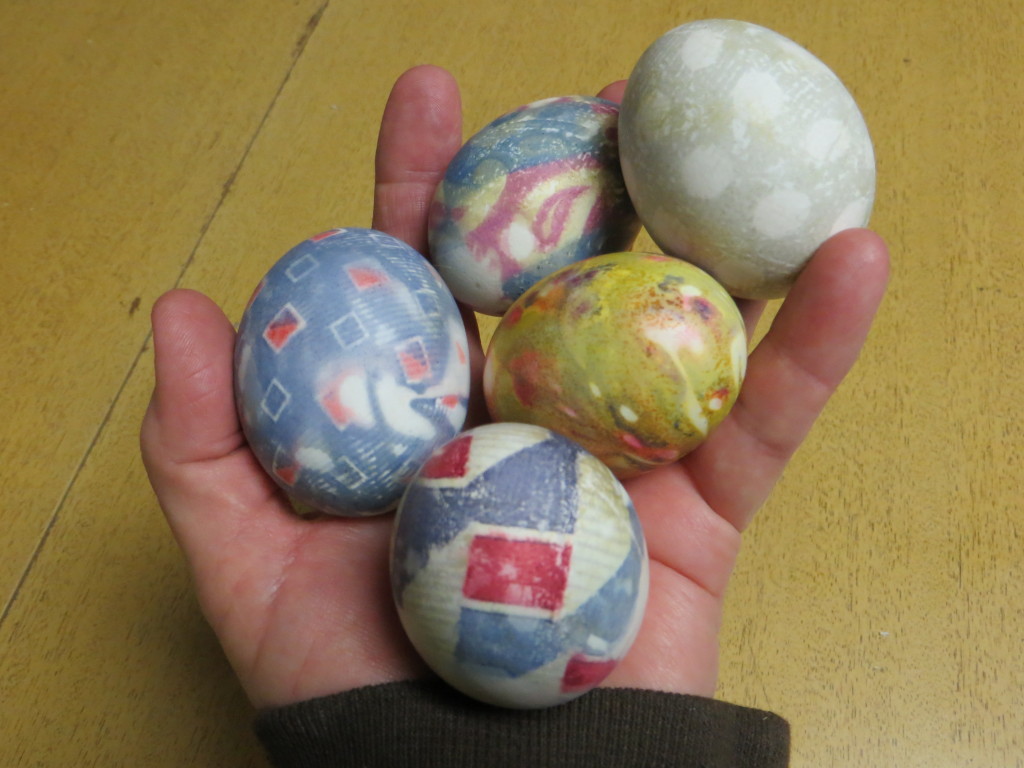
Then say, “WOW” and vow to do this again!
Find me here!
I am a day late, but I wanted to say I think this idea is really nifty!
And, I’m going to try it!
I love that we can cook the eggs and color them all at the same process! Just up my alley. Maybe.