I ended up babysitting last night… and I knew I was supposed to… so why didn’t I post before??? I don’t know. But when I got home at 2:30 am… there was just NO WAY I was posting! I was even awake enough to read before going to bed… how strange is THAT?
As an aside… Happy birthday to Tess (yesterday) I’m so happy you’re part of this family!
****
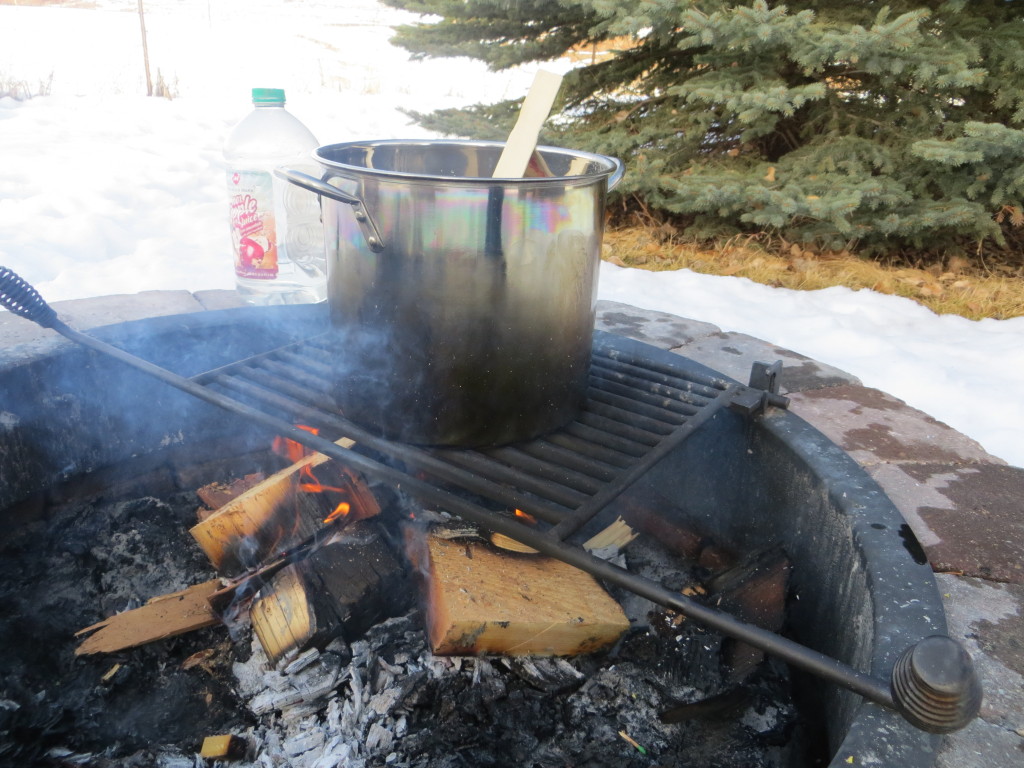
Now, I spent a bit of time yesterday rendering my beeswax. I don’t know if that’s the correct term… but remember those golden cross combs I cut out of my Mess-opotamia hive (hence the name)? Well, I melted them down into a nice round block of beeswax! It’s simple, but since it was the first time I’d done it… I chose to do it outside. Wax gets everywhere on its own… and there’s the potential for fire… so, yeah, let’s do it outside where there’s plenty of snow to control any wrecks!
Now I made a video… but it will take some major editing to get it to viewable stage. Let’s just go with what I have now…
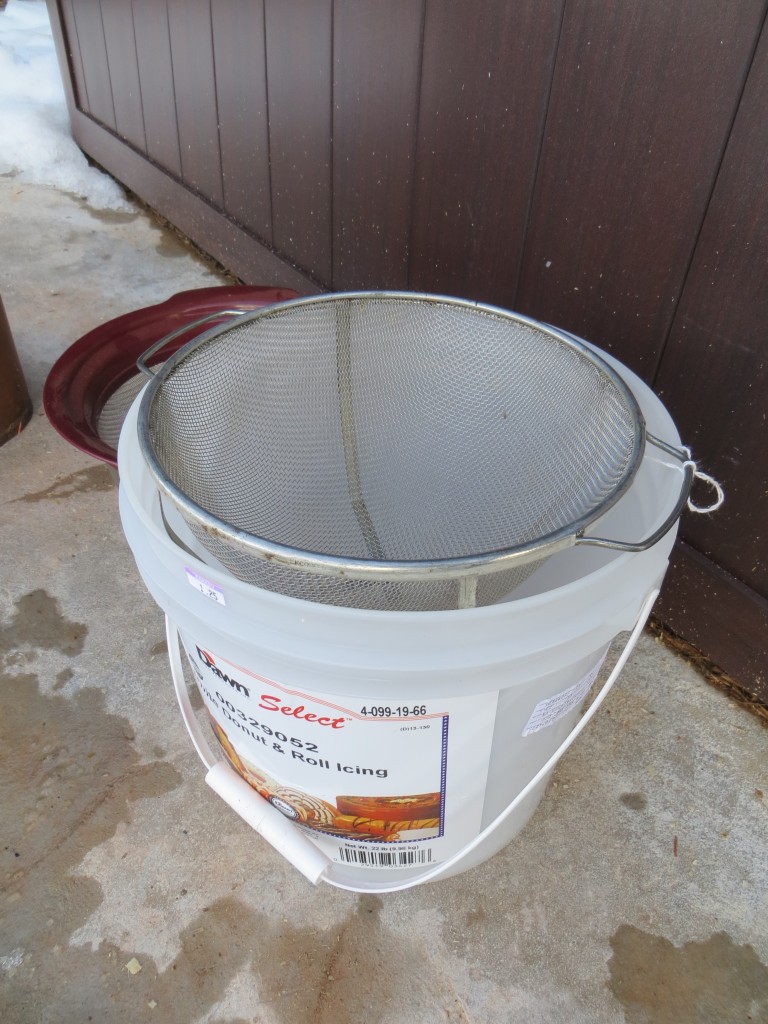
Supplies: campfire, old pot, stir stick, colander, food grade bucket, water, beeswax.
Step 1: Heat your water. I only have about 1.5″ of water in my pan, I don’t have lots of beeswax, so this should be enough. I could have filled it to 1/3 full, but it would take too long on my campfire, and just isn’t necessary. Water will “wash” the wax, help melt and separate the wax, then aid in solidifying the wafer of beeswax.
Step 2: Crumble your combs by smushing them in the plastic sack. Your hands won’t get sticky that way from the wax and any honey left in them.
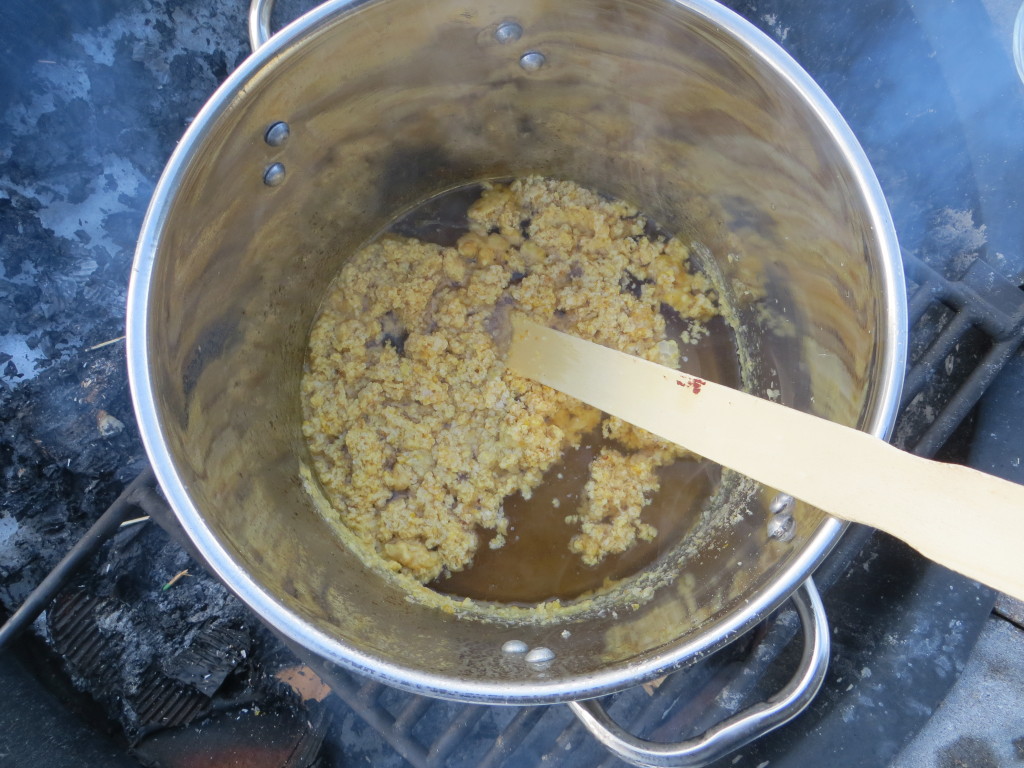
Step 3: Add wax to hot water. It won’t take long for the wax to start melting. Make sure all pieces of comb have melted. Stir to keep from burning.
Step 4: Carefully pour through strainer into bucket. The strainer will catch the big yuckies… Depending on the filth level of your wax, you may need to go through this a few times with smaller strainers to clean it up.
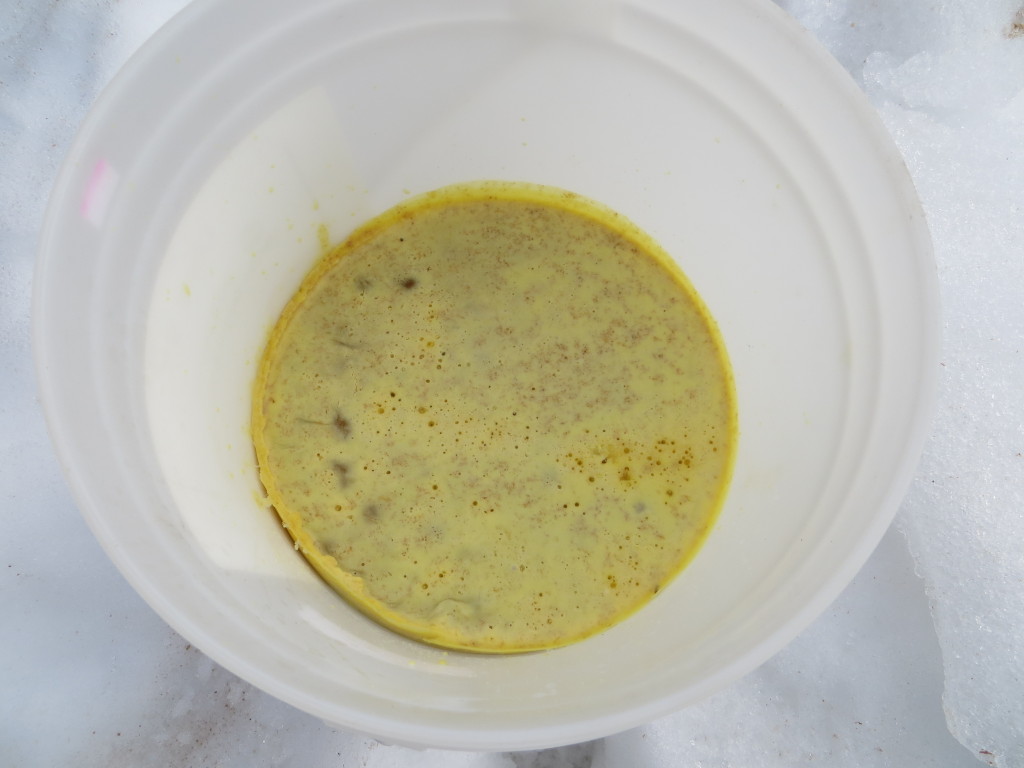
Step 5: Let cool. The wax will rise to the top, followed by a layer of propolis, and a layer of “slum gum” (the dirt and grossness and larvae of bees)
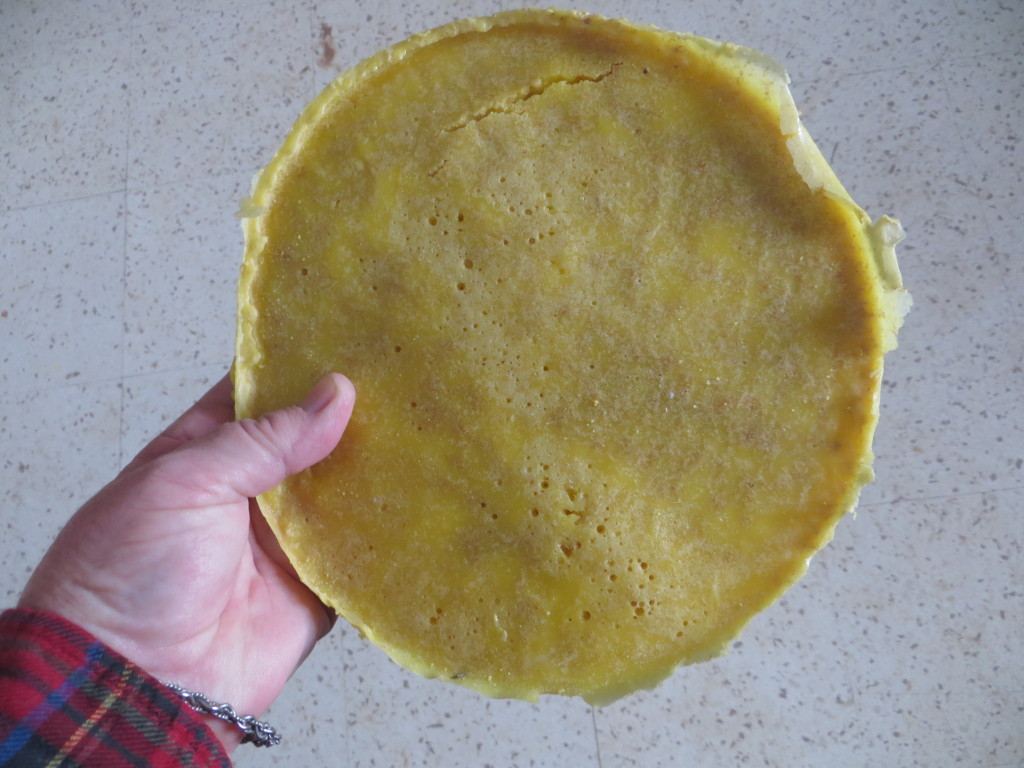
Step 6: When cooled, push down on one side of your wax wafer and the opposite edge should pop up. Pull it up! That’s all there is to a basic wax wafer! Be careful, as wax can burn easily.
I’ll probably remelt this, run it through a cloth strainer, and form it into smaller blocks.
I can use this for my pysanky. To make candles, lip balm, lotion. Beeswax ROCKS!
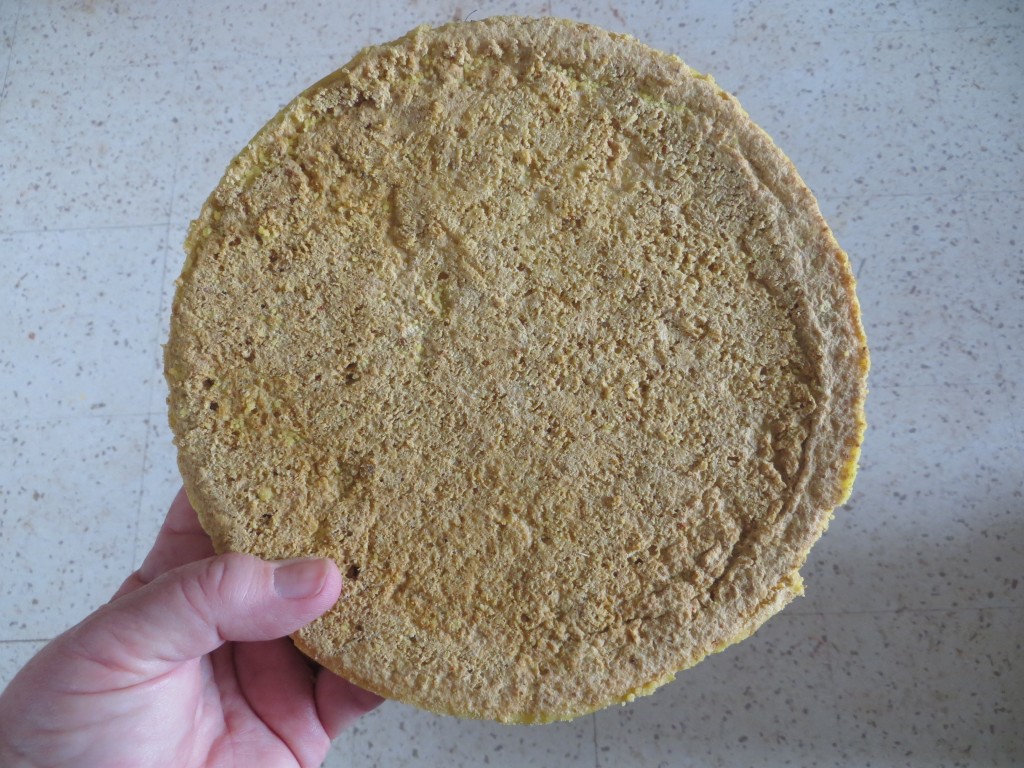
(This is the bottom side of the wafer… It doesn’t really have gross-ness since it was pretty clean comb… and I THINK this gritty stuff is poorer quality propolis. High quality is harvested a different way. I can scrape this off and save it, leaving purer wax to be remelted and strained again.)
Find me here!
So cool!!
Kris recently posted…super bowl leftovers
Most interesting!! You really rock! and I’ll look forward to the video you make.
Carol, you have unbelieveable energy and wonderful consistency in keeping us daily informed!